Mini Salmon Cakes Recipe
Looking for an easy recipe that feels a little special? These Mini Salmon Cakes are just the thing. They’re tender on the inside, lightly golden on the outside, and full of bright, savory flavor. Whether you’re planning a casual lunch, setting out appetizers for guests, or stocking the freezer with something delicious for later, this is one of those recipes you’ll be glad to have on hand.
Made with salmon, onion, pepper, parsley, breadcrumbs, and a blend of Dijon mustard and Cherchies® Champagne Mustard, these mini salmon cakes come together with simple ingredients and big flavor. They’re finished with a creamy Lime Aioli made with garlic, fresh lime juice, and Cherchies® Chardonnay Lime & Cilantro Seasoning for a bright, zesty finish that pairs perfectly with the salmon.
One of the best things about this recipe is its flexibility. You can make it with fresh salmon fillet or canned salmon, prep the cakes ahead of time, freeze them for later, and bake or air fry them when you’re ready to serve. They’re easy enough for a weeknight and just right for entertaining too.
However you serve them, these Mini Salmon Cakes with Lime Aioli are an easy, flavorful recipe to keep on repeat. Thanks for stopping by! Come back again for more family-tested recipes, entertaining ideas, and cooking tips using our favorite Cherchies® gourmet products.
Follow us on social media: Facebook, Instagram, and Pinterest.
Salmon Cake Ingredients
2 lb fresh salmon fillet (or use canned wild-caught salmon, drained and flaked)
1 Tablespoon olive oil
¼ cup finely chopped red or green bell pepper (optional — for added crunch & color)
1 small onion, finely diced
2–3 TBSP chopped fresh parsley
1 large egg (or 2 egg whites), beaten
3 TBSP mayonnaise or Greek yogurt (*See Note)
2 Tablespoons Dijon mustard
2 Tablespoons Cherchies® Champagne Mustard
⅔ cup breadcrumbs (*See Note)
2 Tablespoons lime juice (plus zest, if you like more limey brightness)
½ tsp smoked paprika
Salt and freshly cracked black pepper, to taste
Olive oil (if pan-frying) or simply a parchment-lined baking sheet (if baking)
Spicy Lime Aioli Ingredients
½ cup Mayo (Greek yogurt. *See dairy-free option in notes)
1–2 TBSP fresh lime juice (adjust to taste)
1 clove of garlic, finely minced
Pepper to taste
Preparation
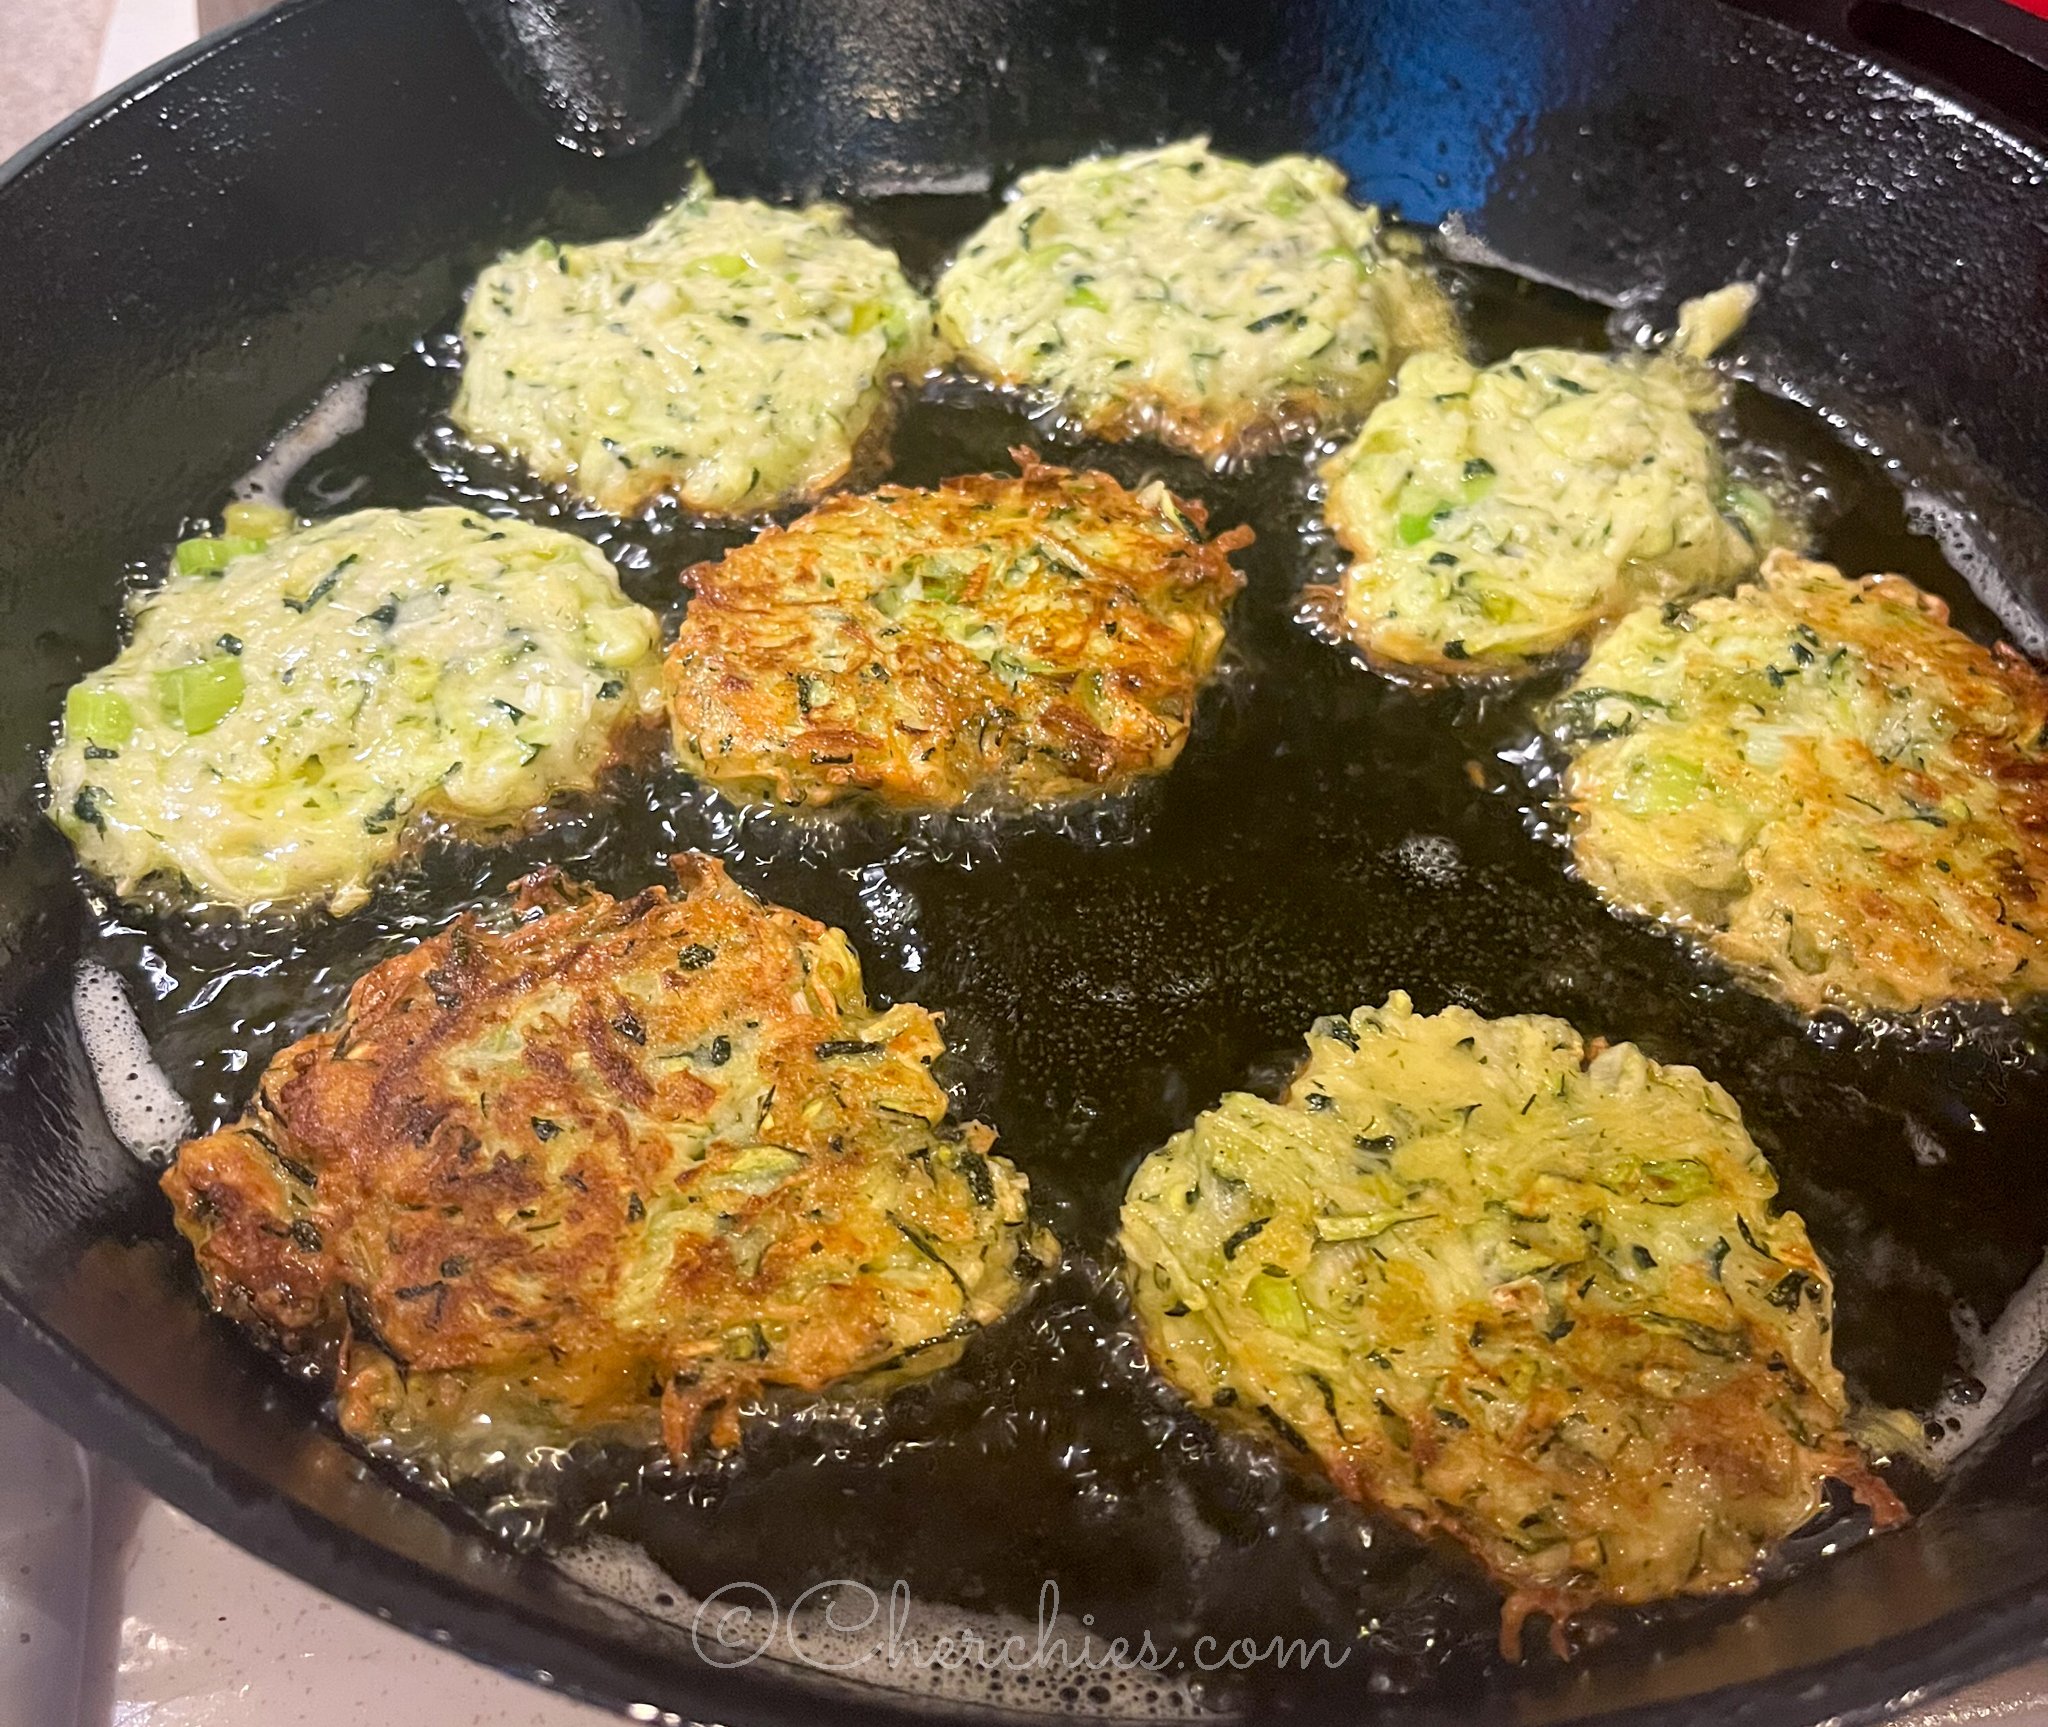
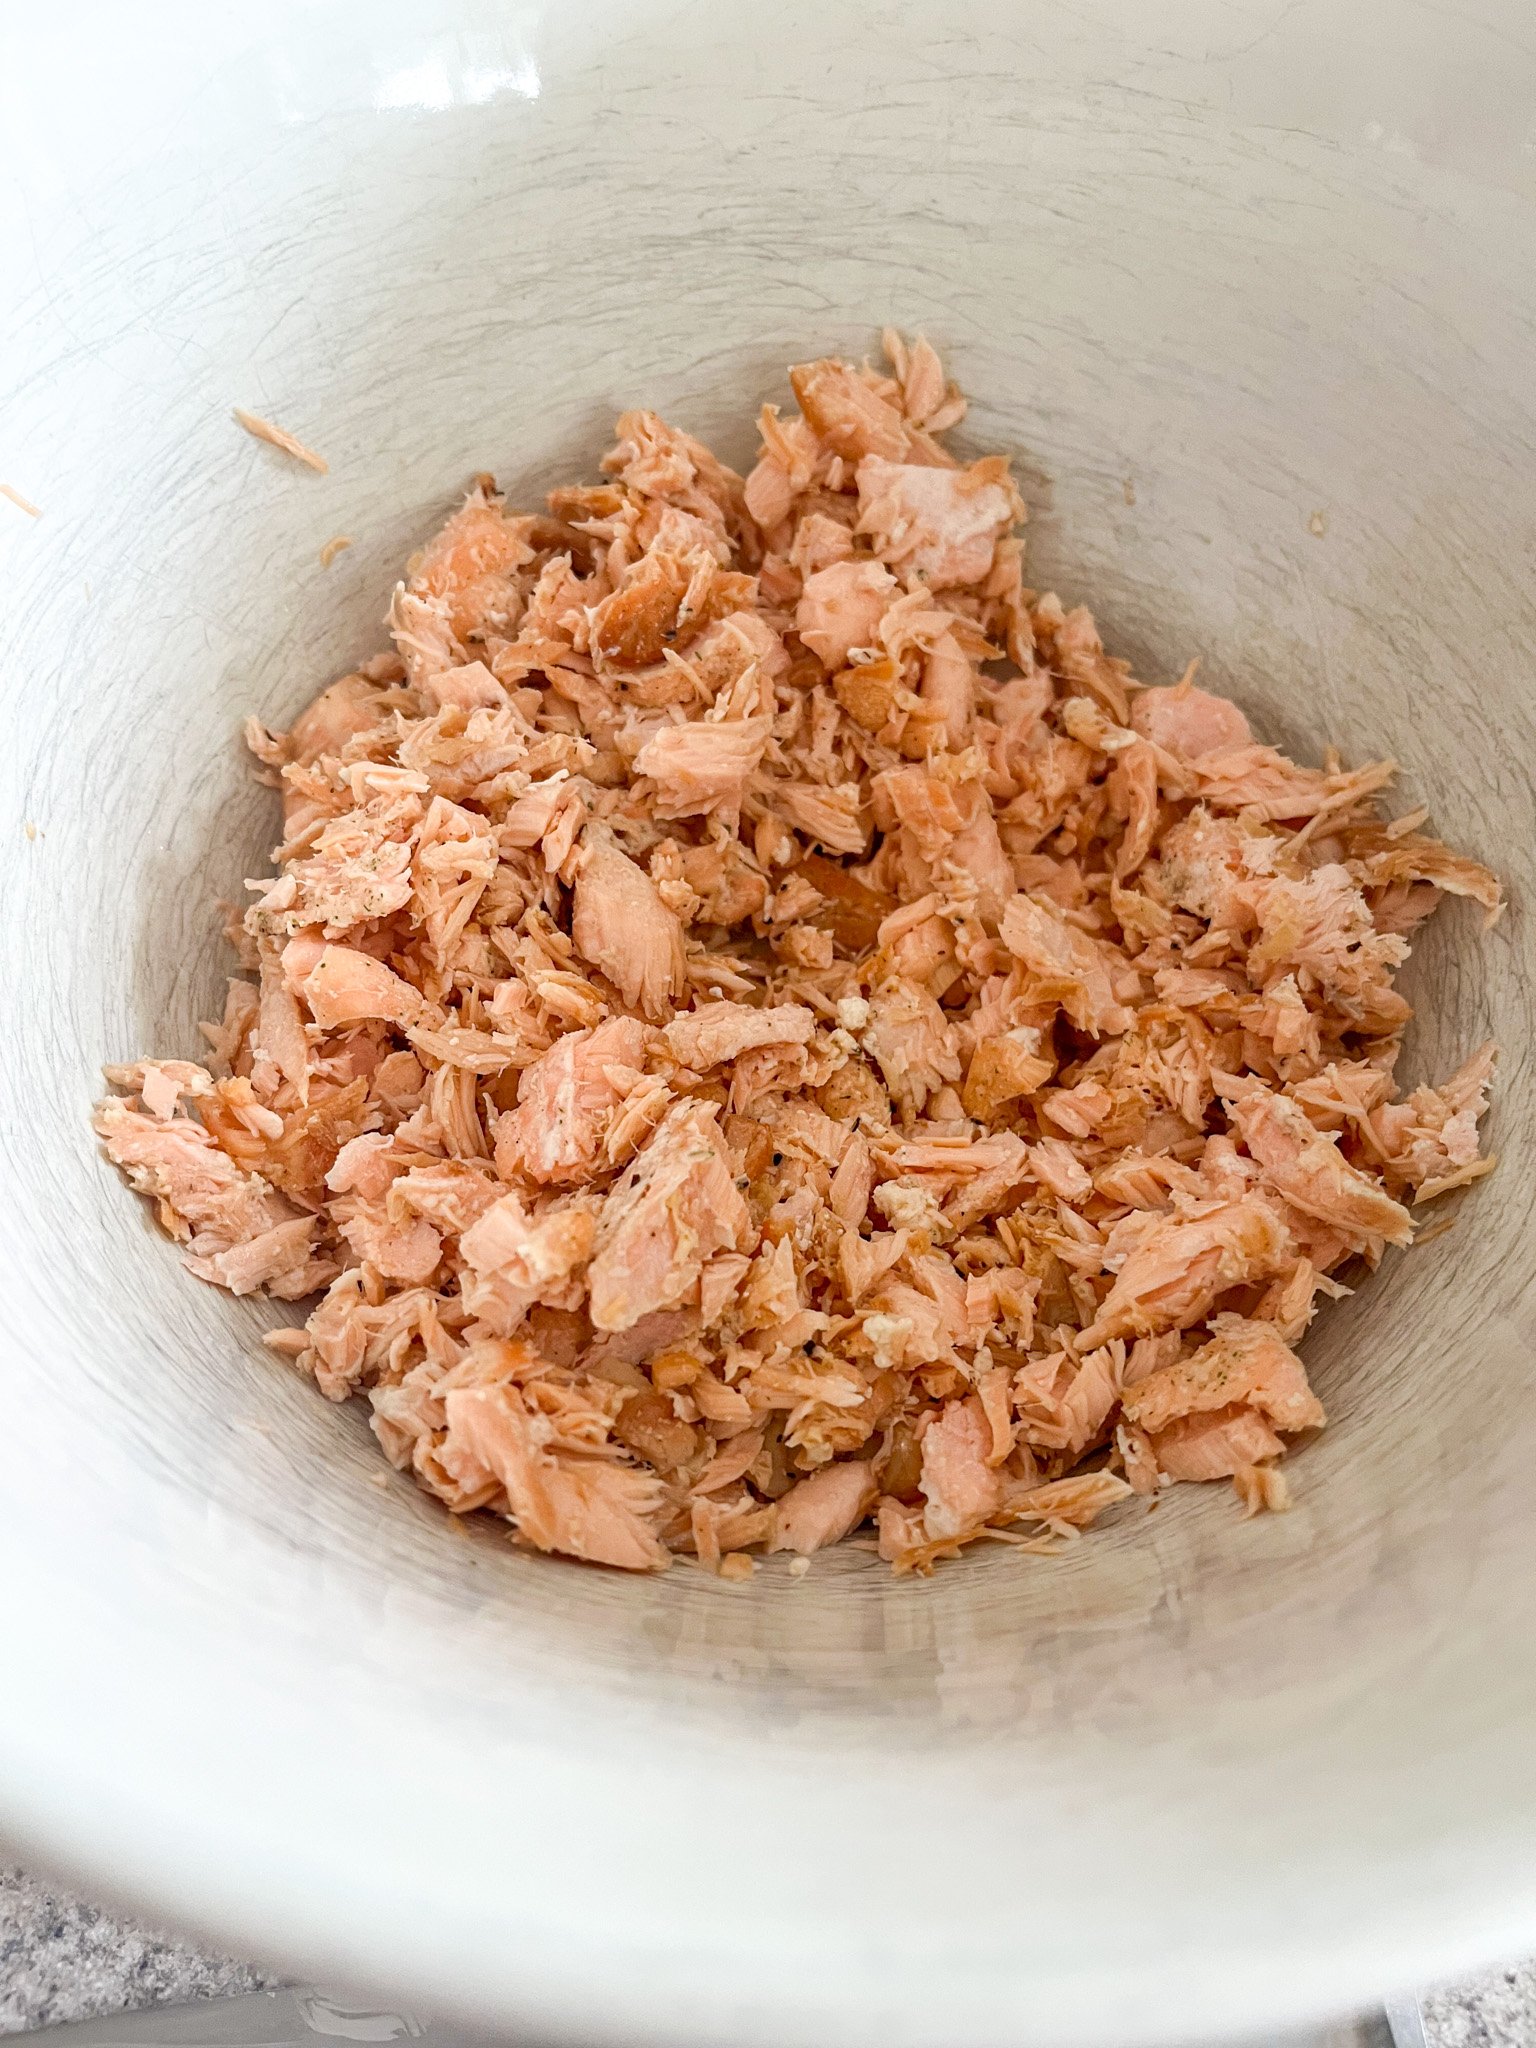
Preheat oven to 400°F (or heat a skillet with a bit of olive oil if frying). If using fresh salmon: bake until cooked, then flake. If using canned, drain and flake. Allow salmon to cool.
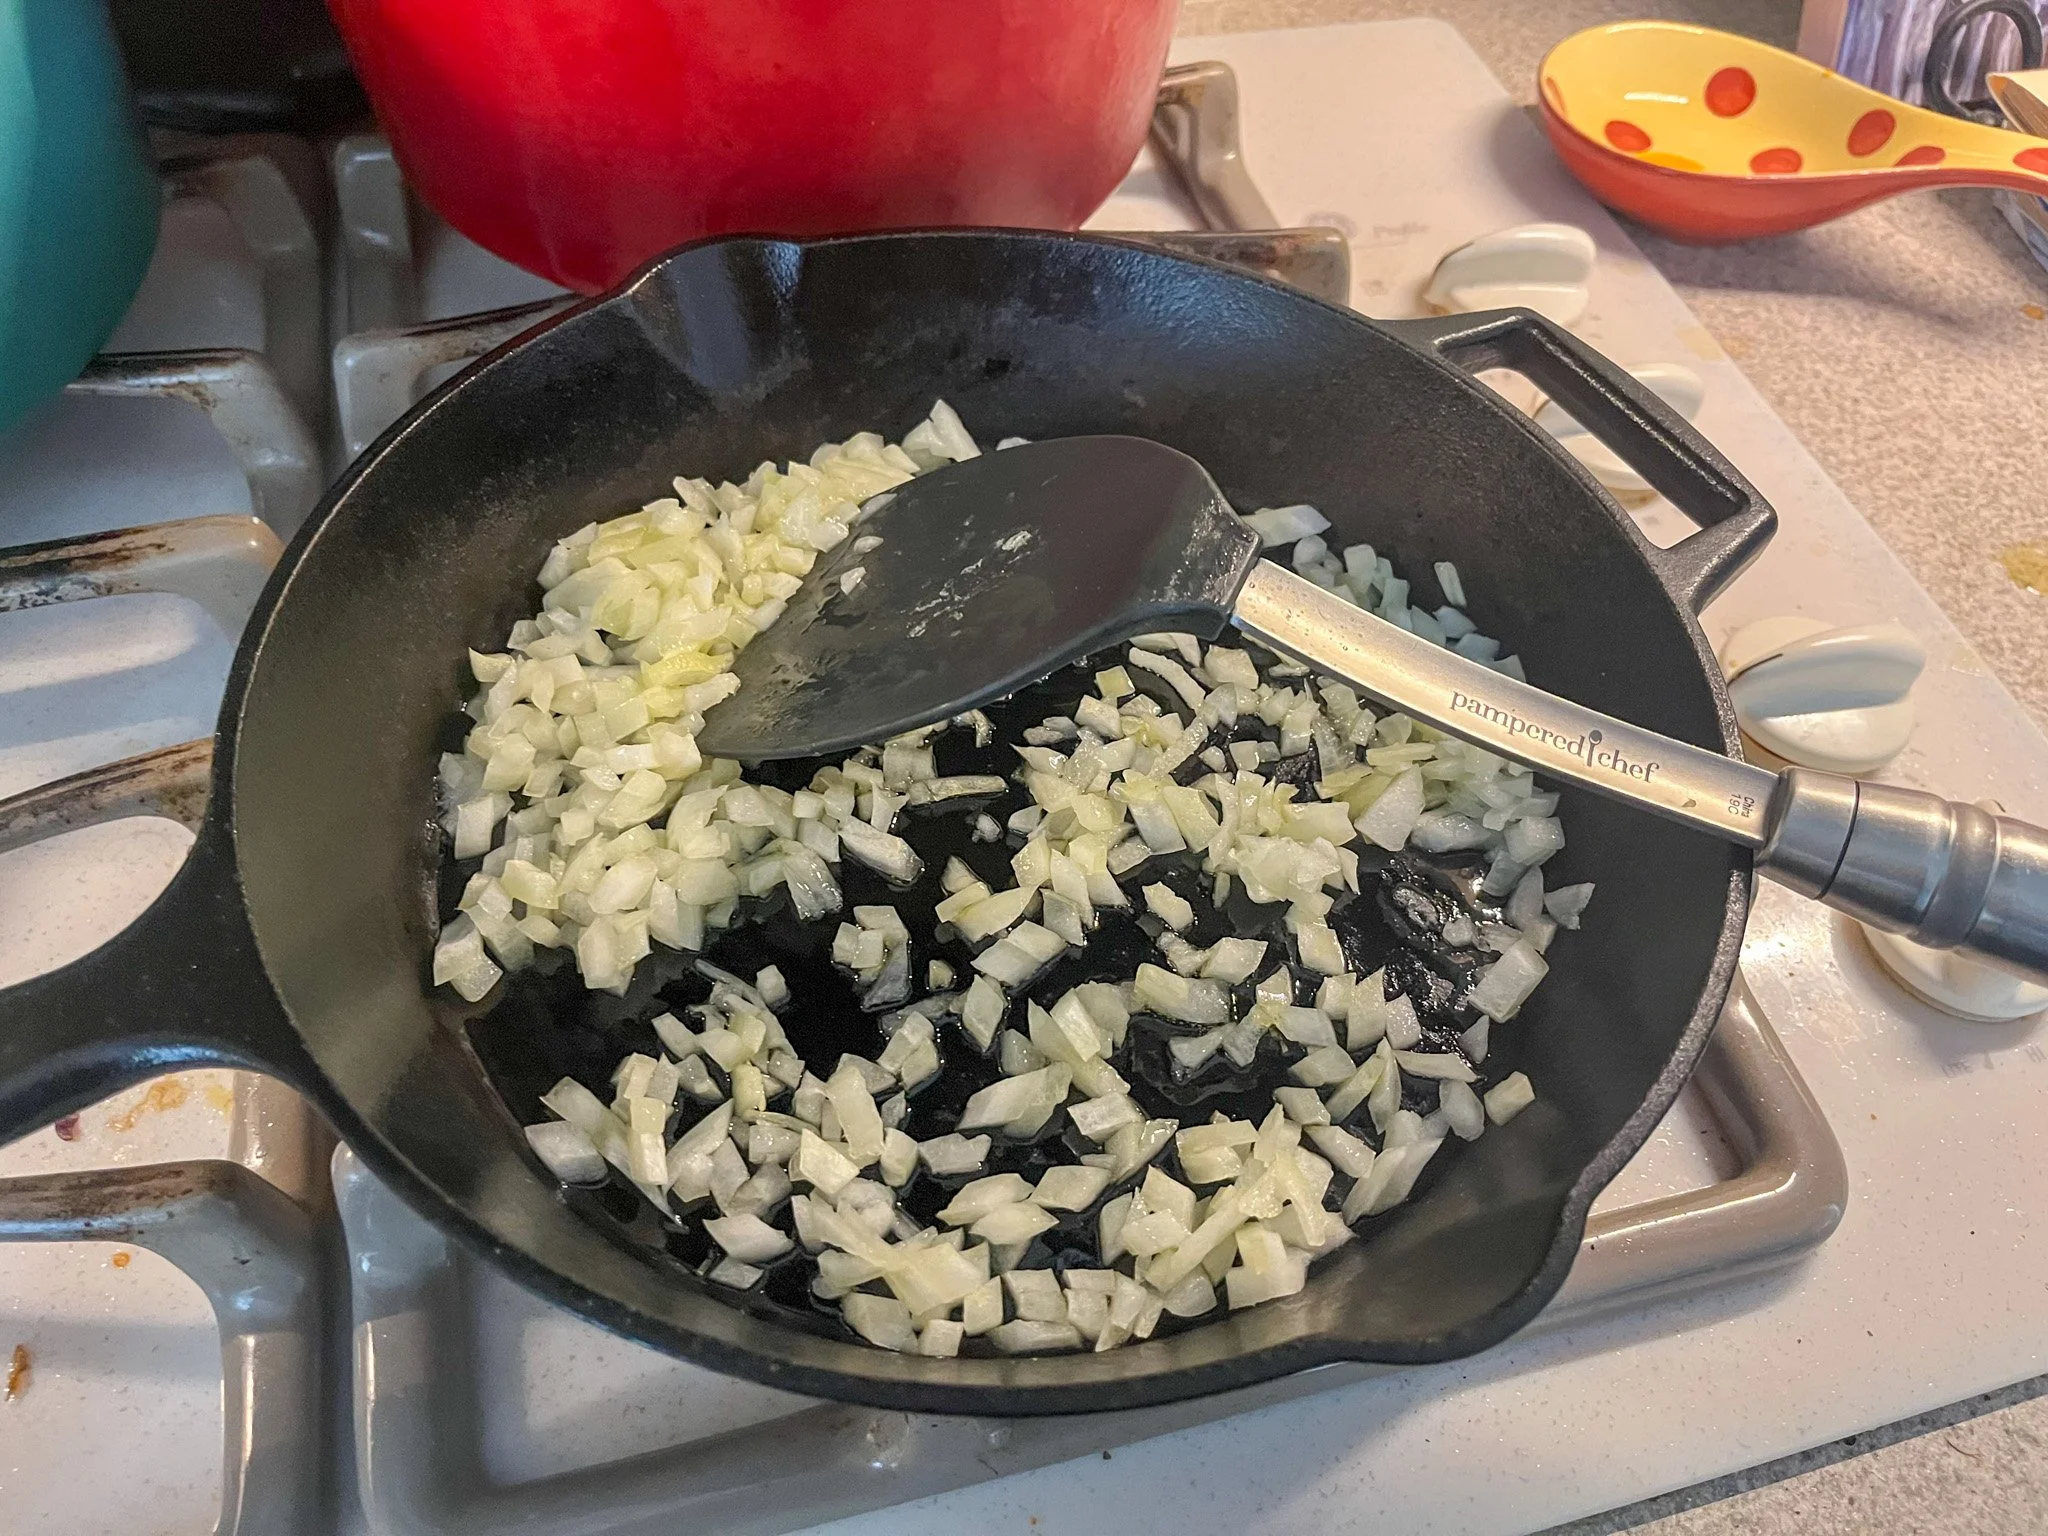
While the salmon cooks, sauté the onion and green pepper in a skillet over medium heat until the onion is translucent and the peppers are softened. Remove from heat and cool. (Forgot to photograph the onions and peppers this time. Sometimes we omit the peppers based on what we have at the moment.)
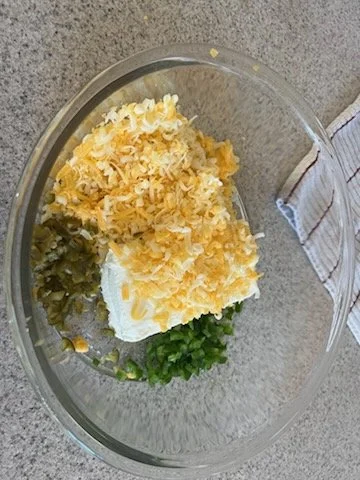
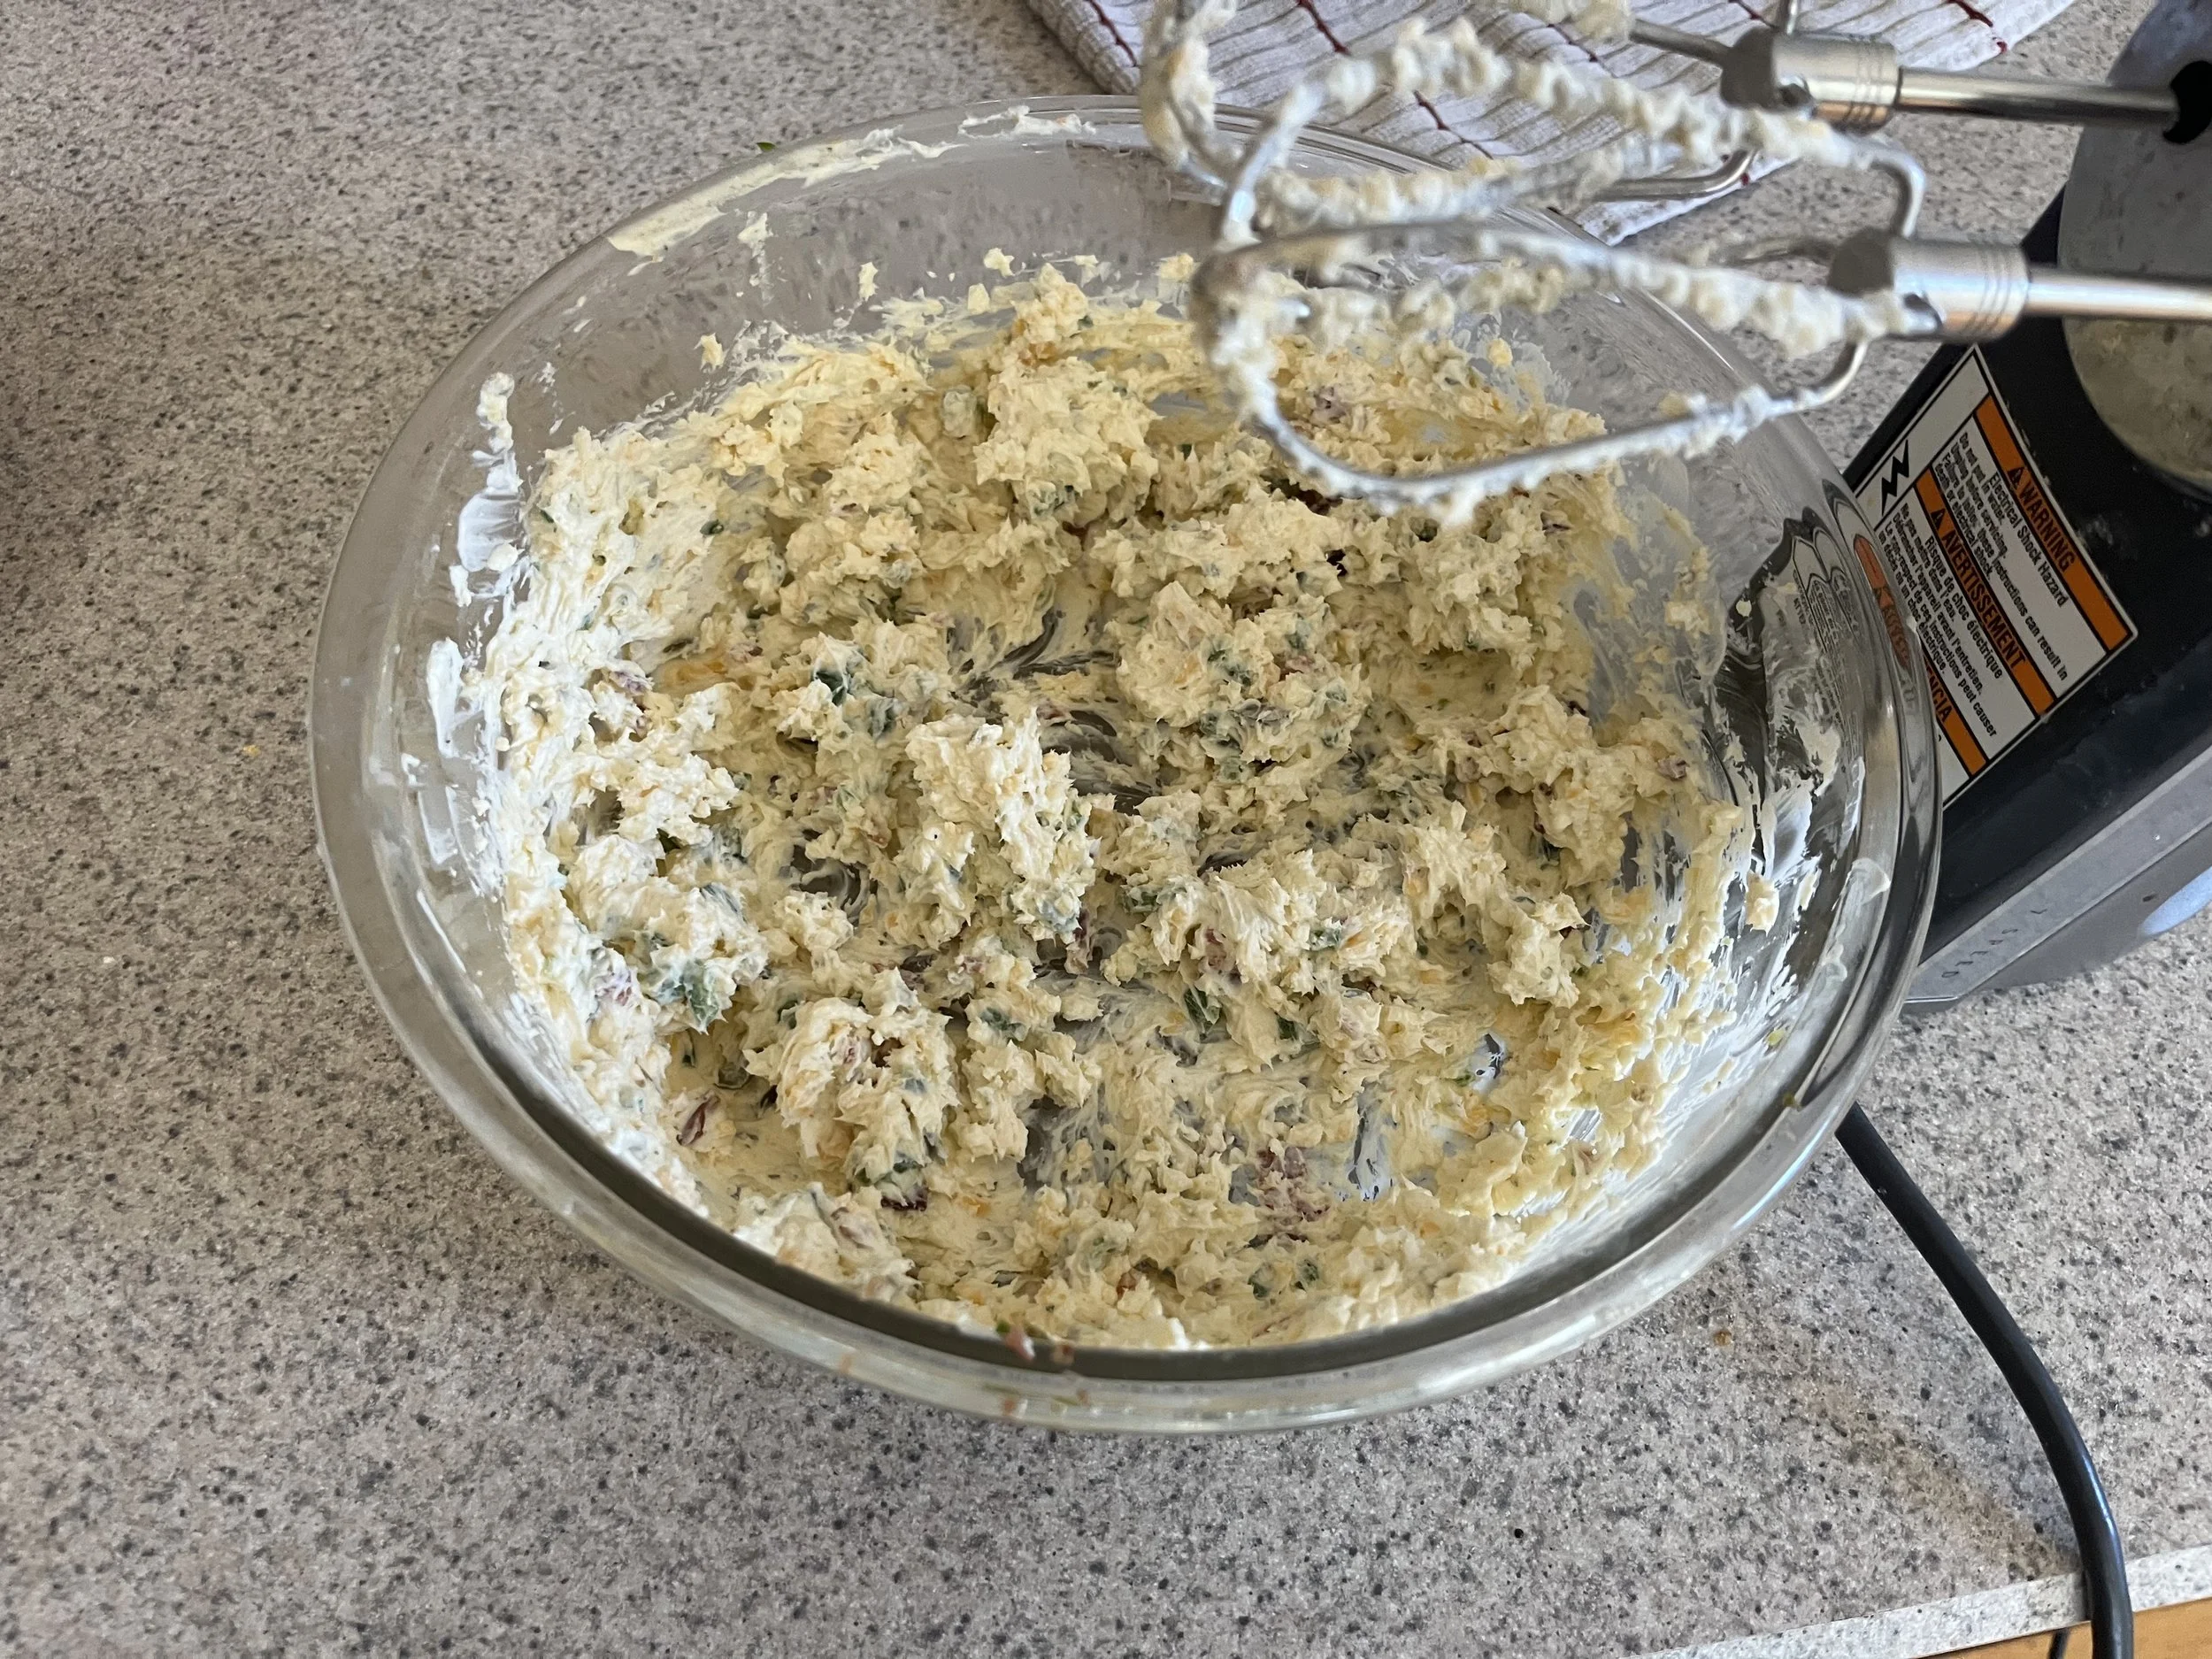
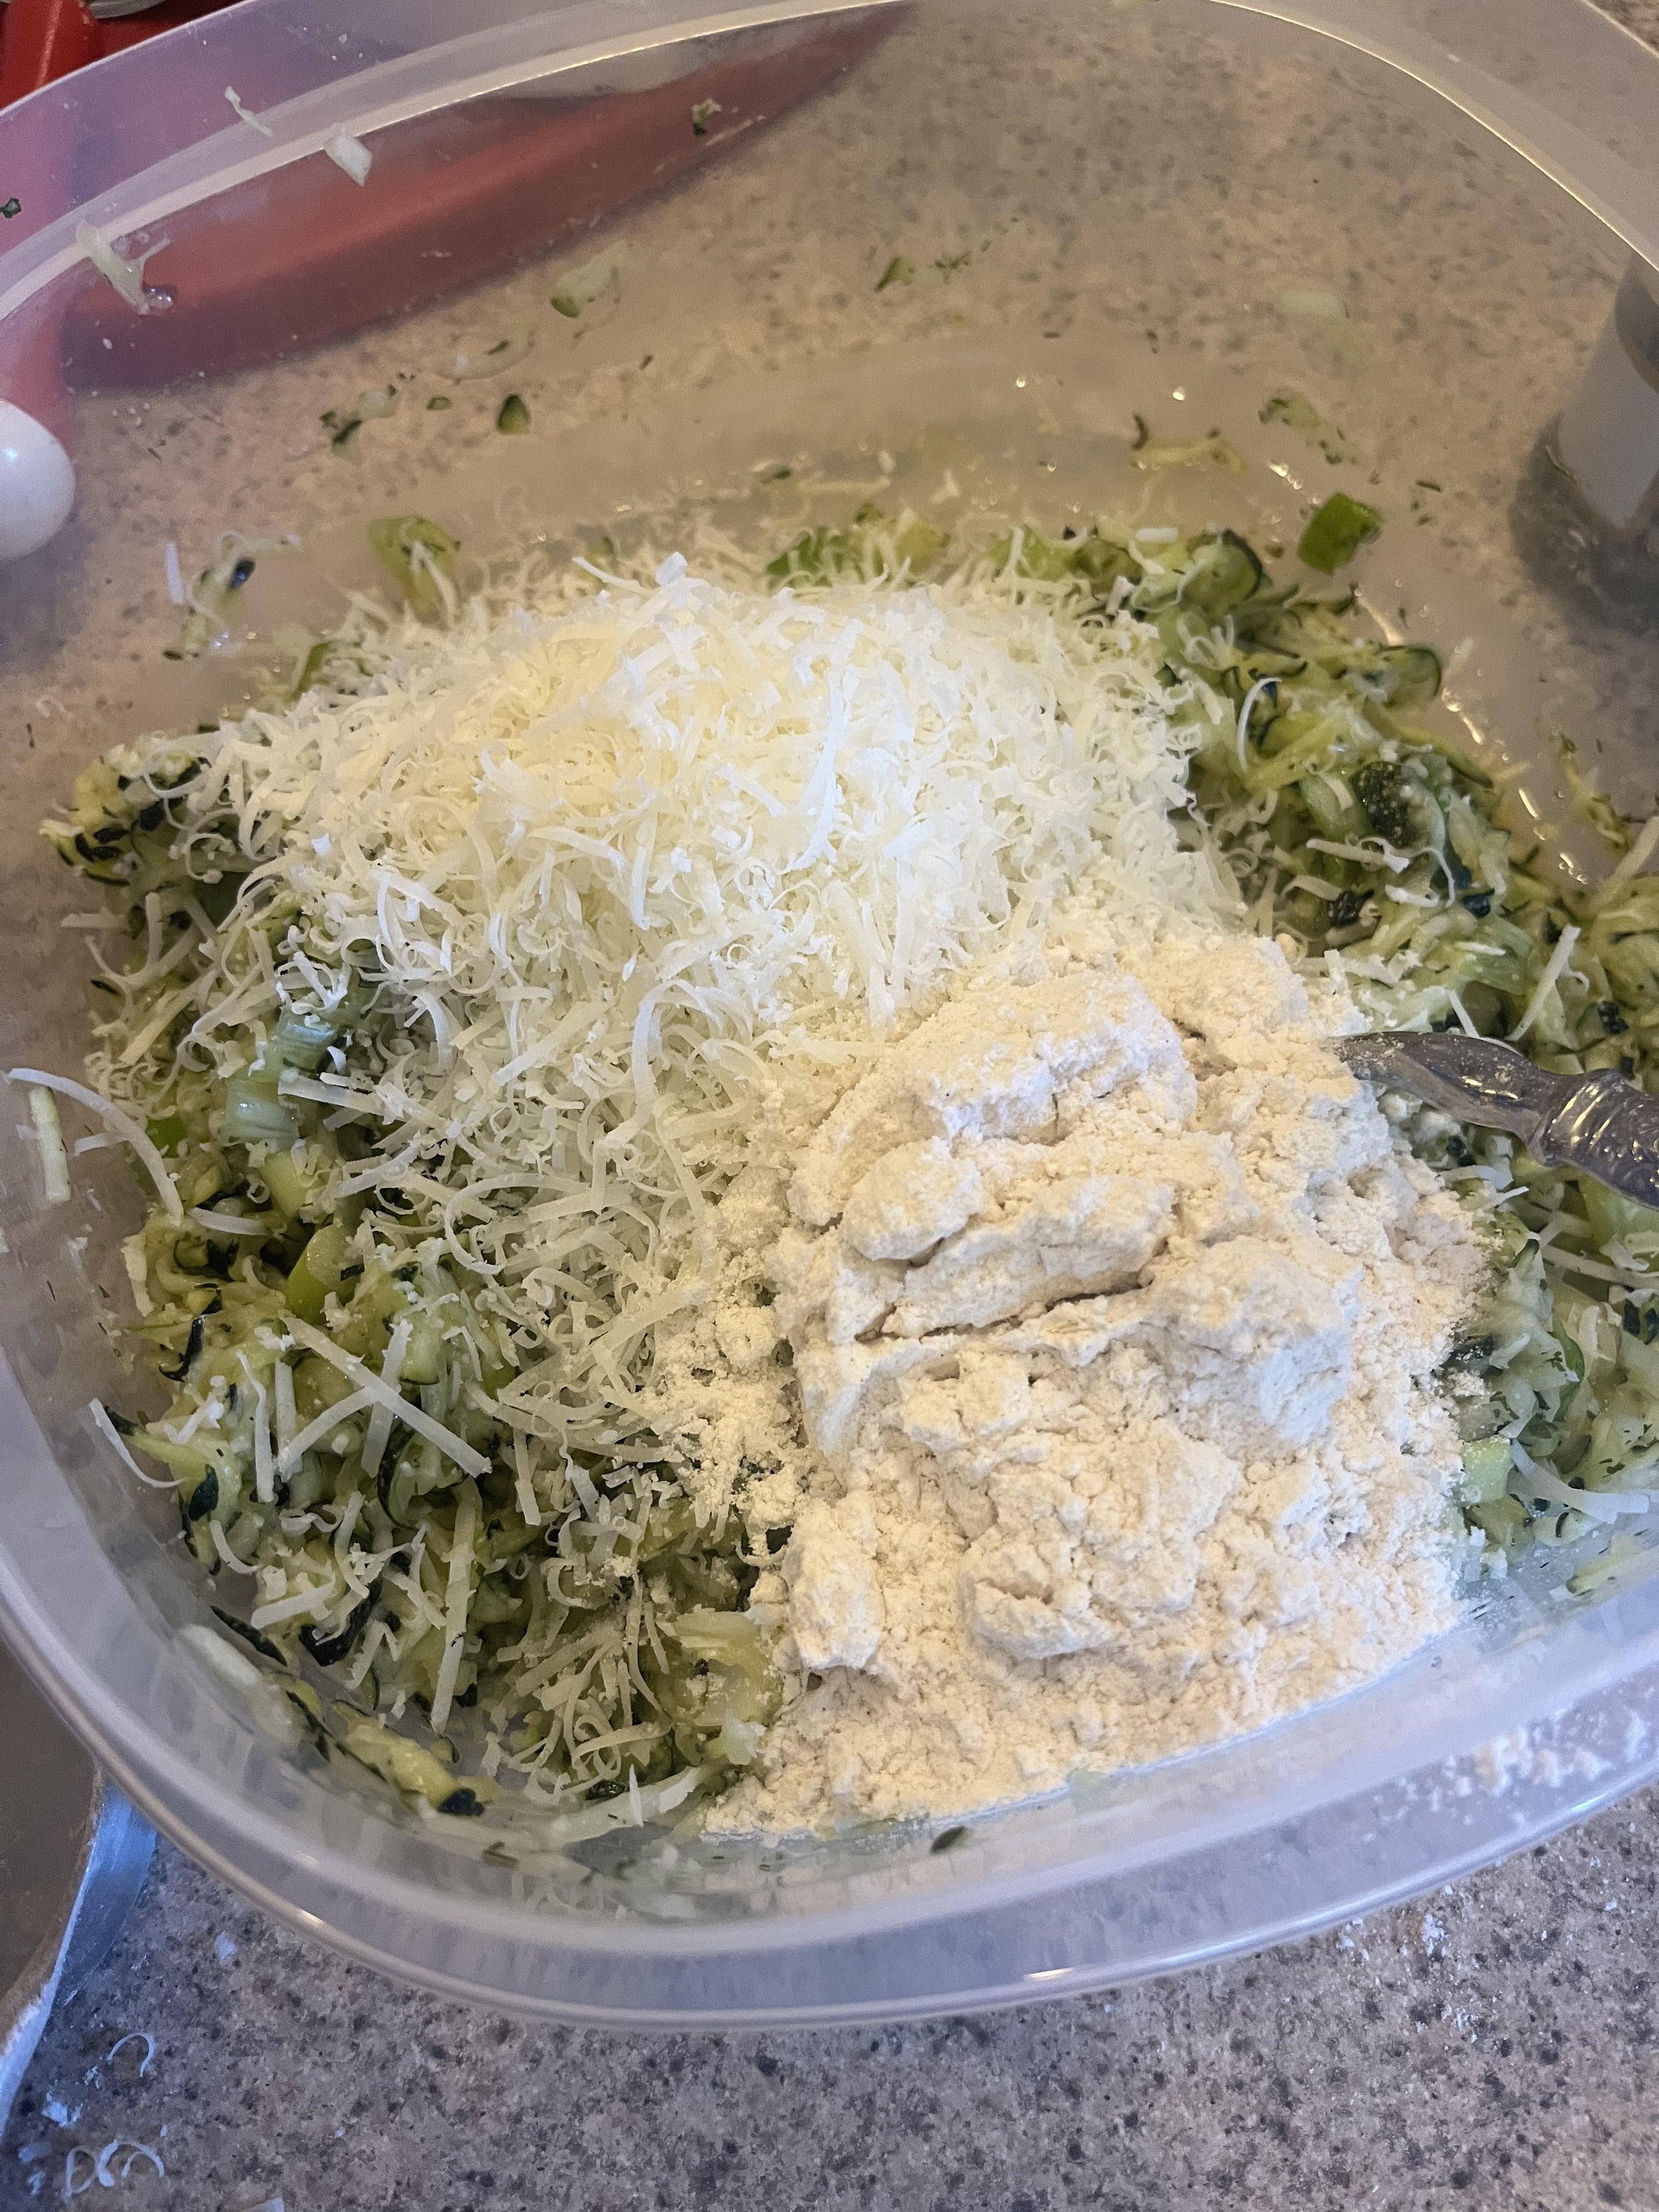
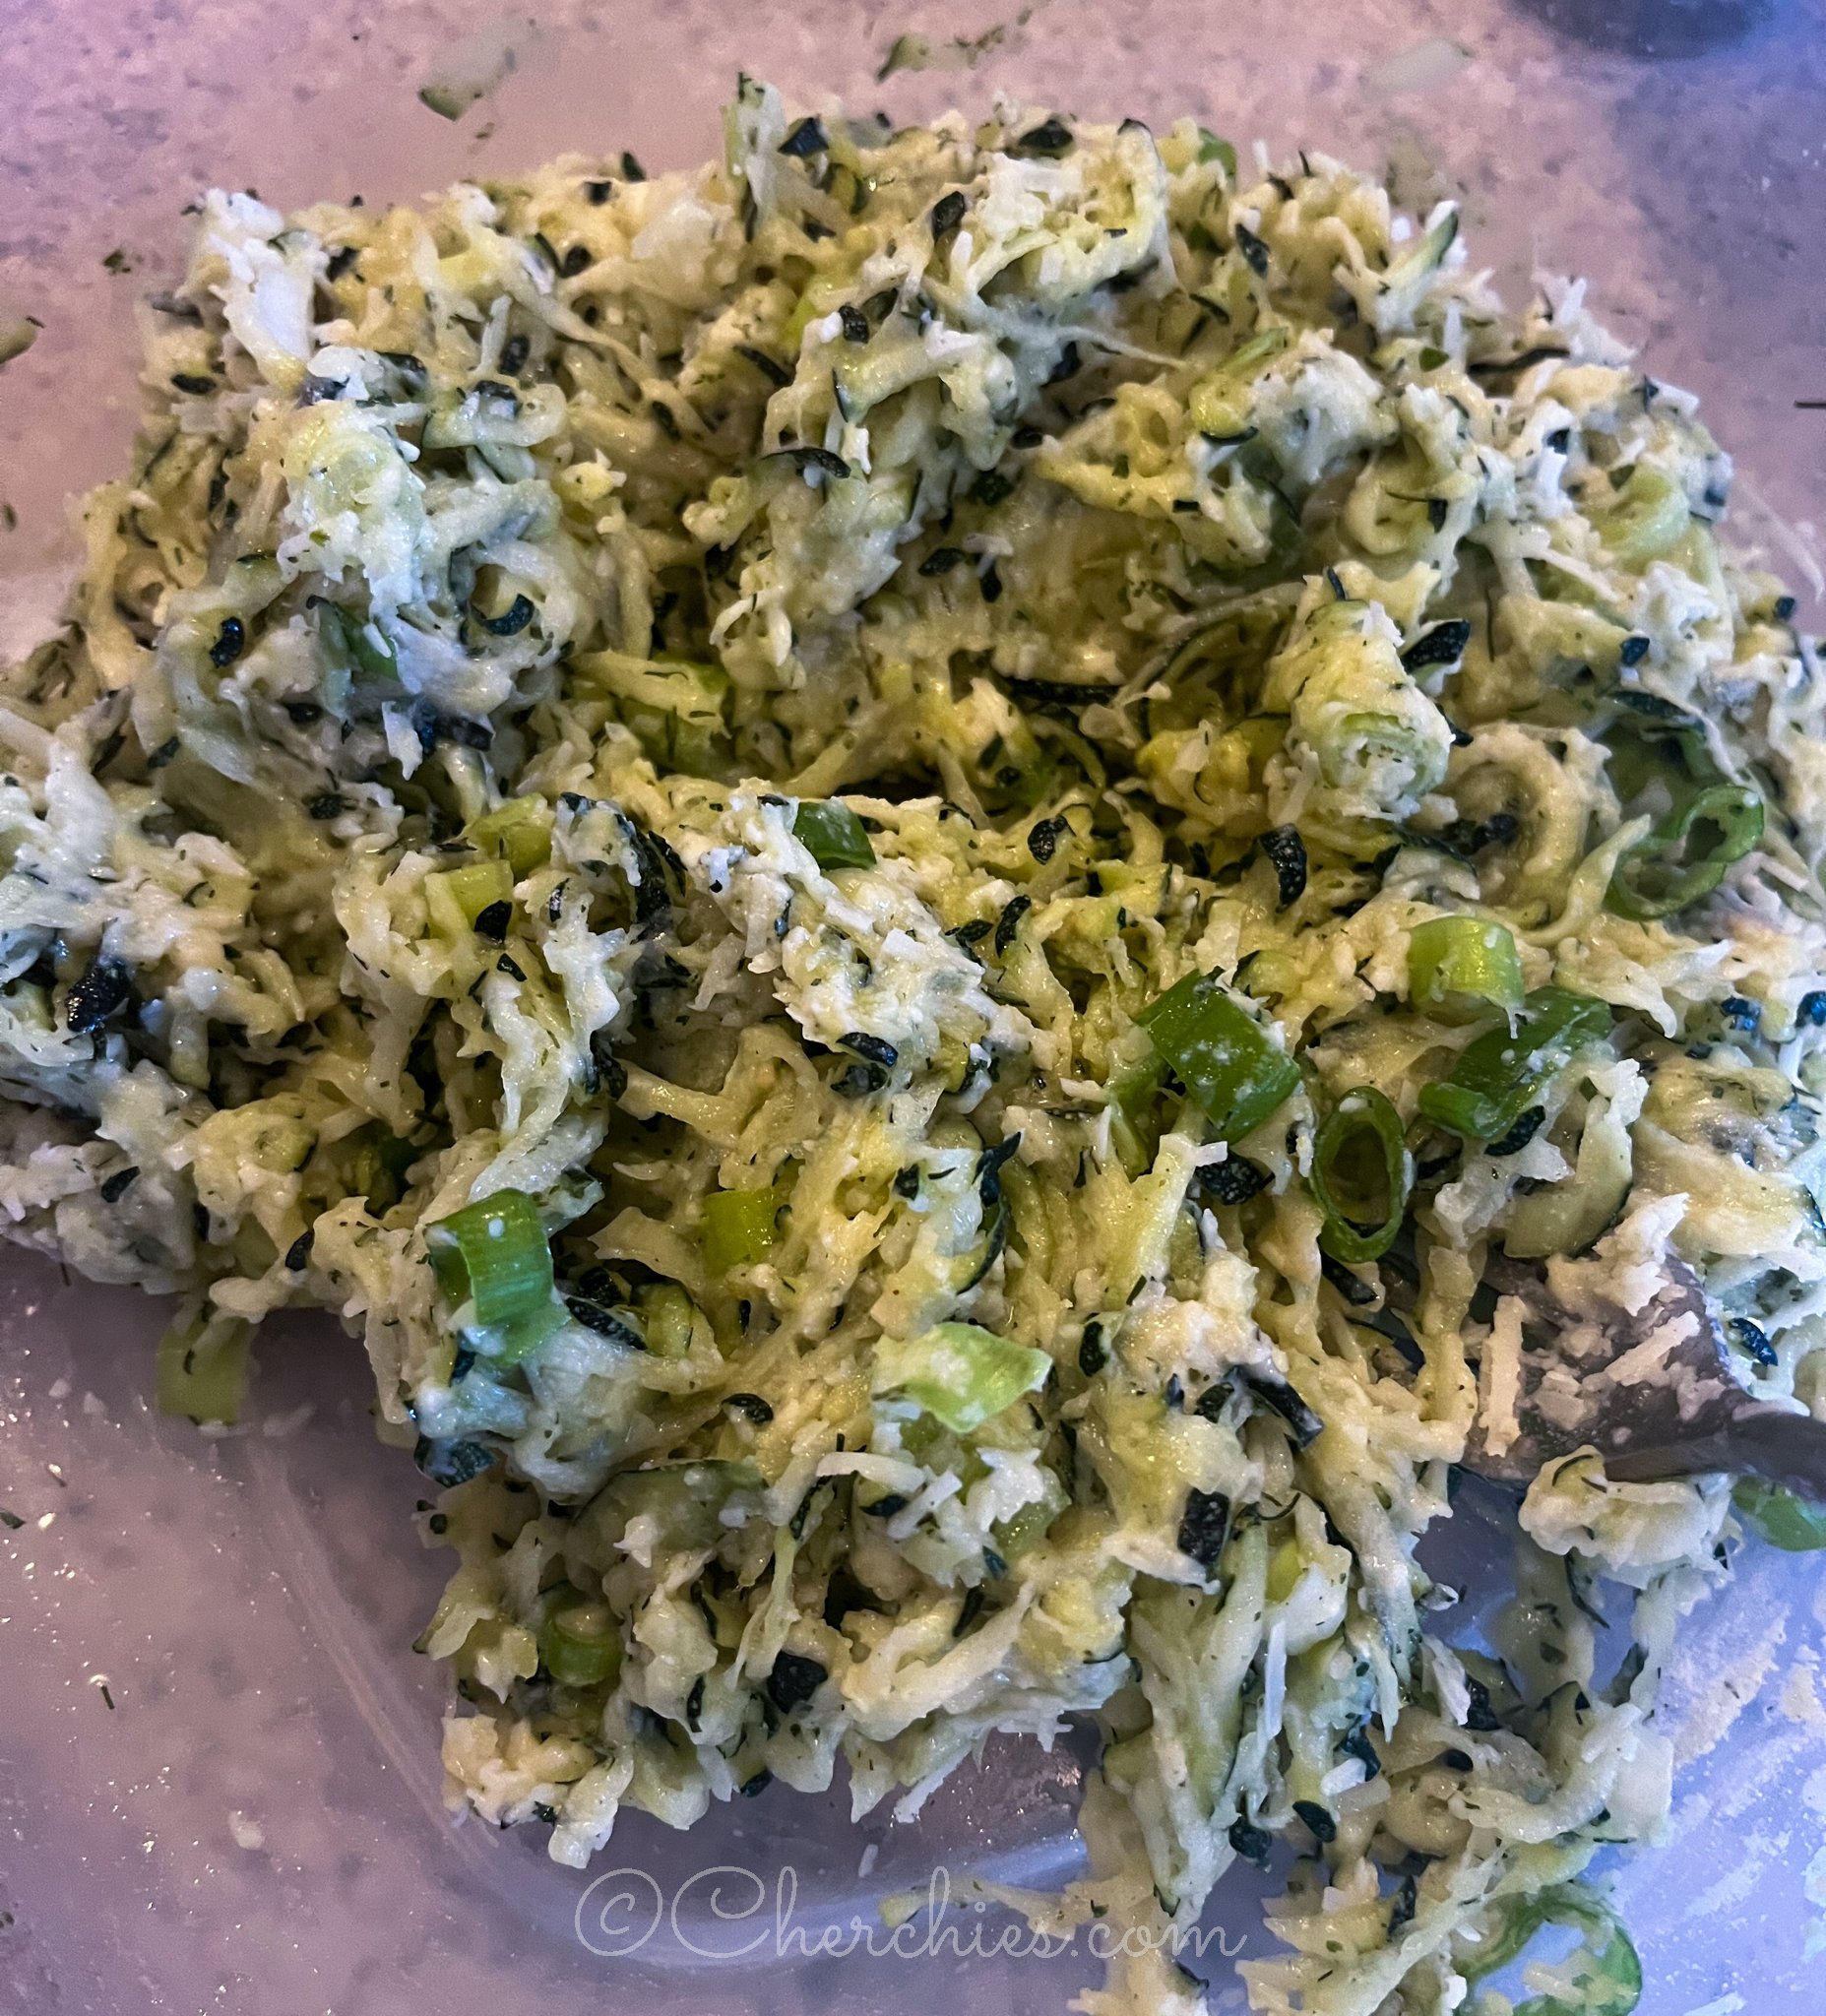
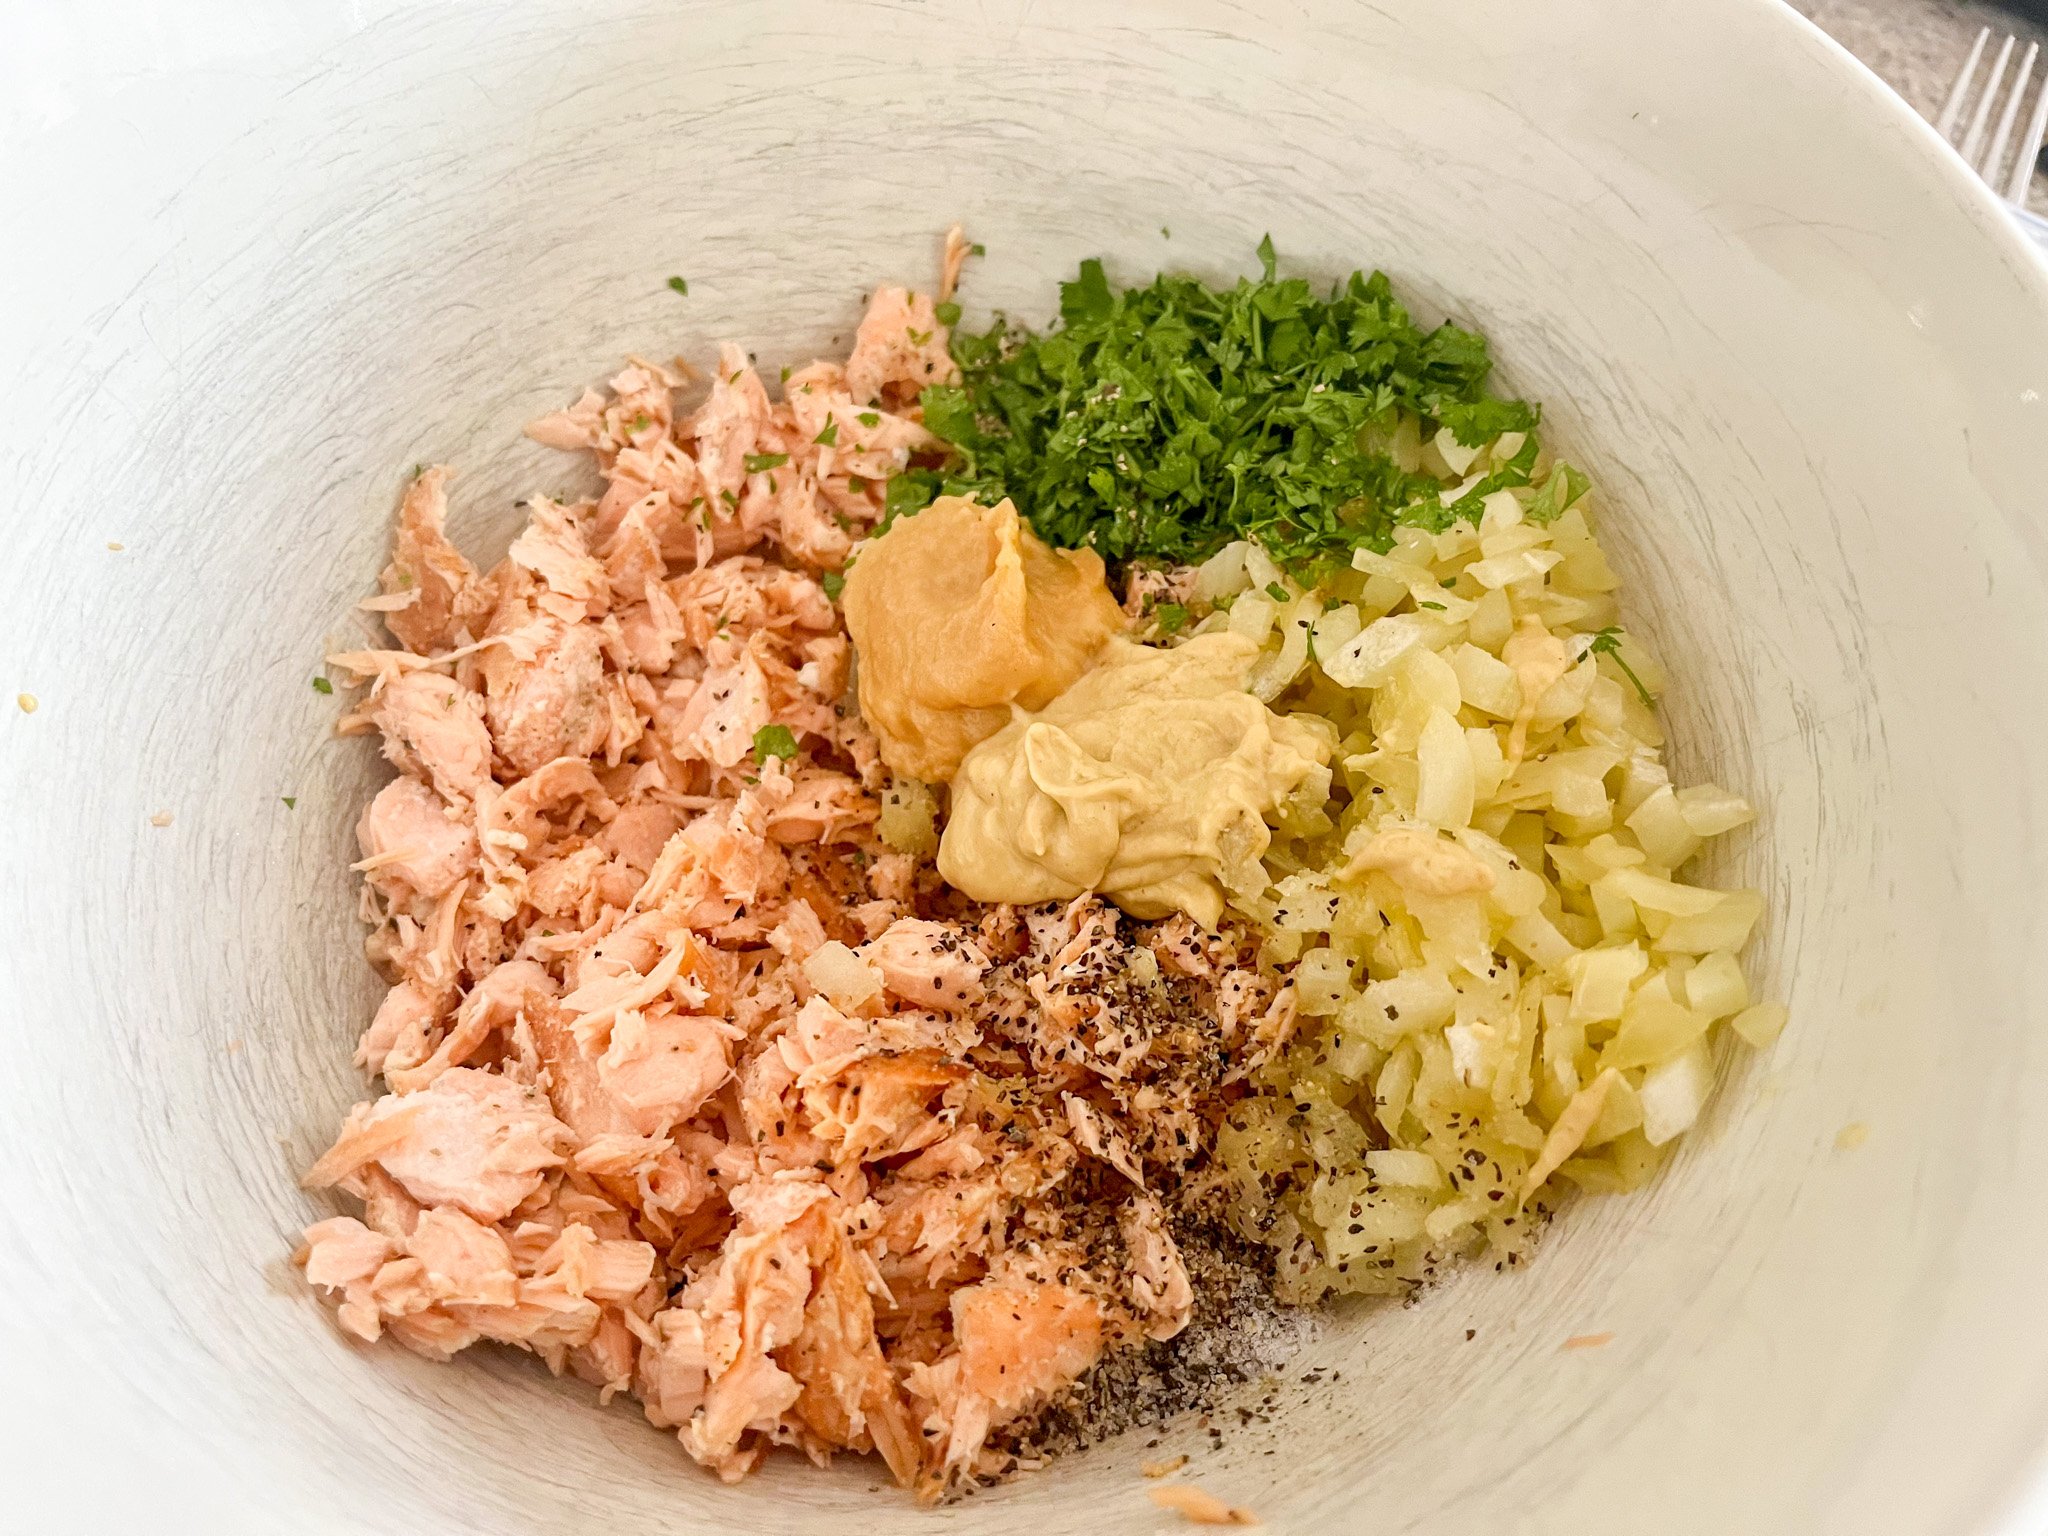
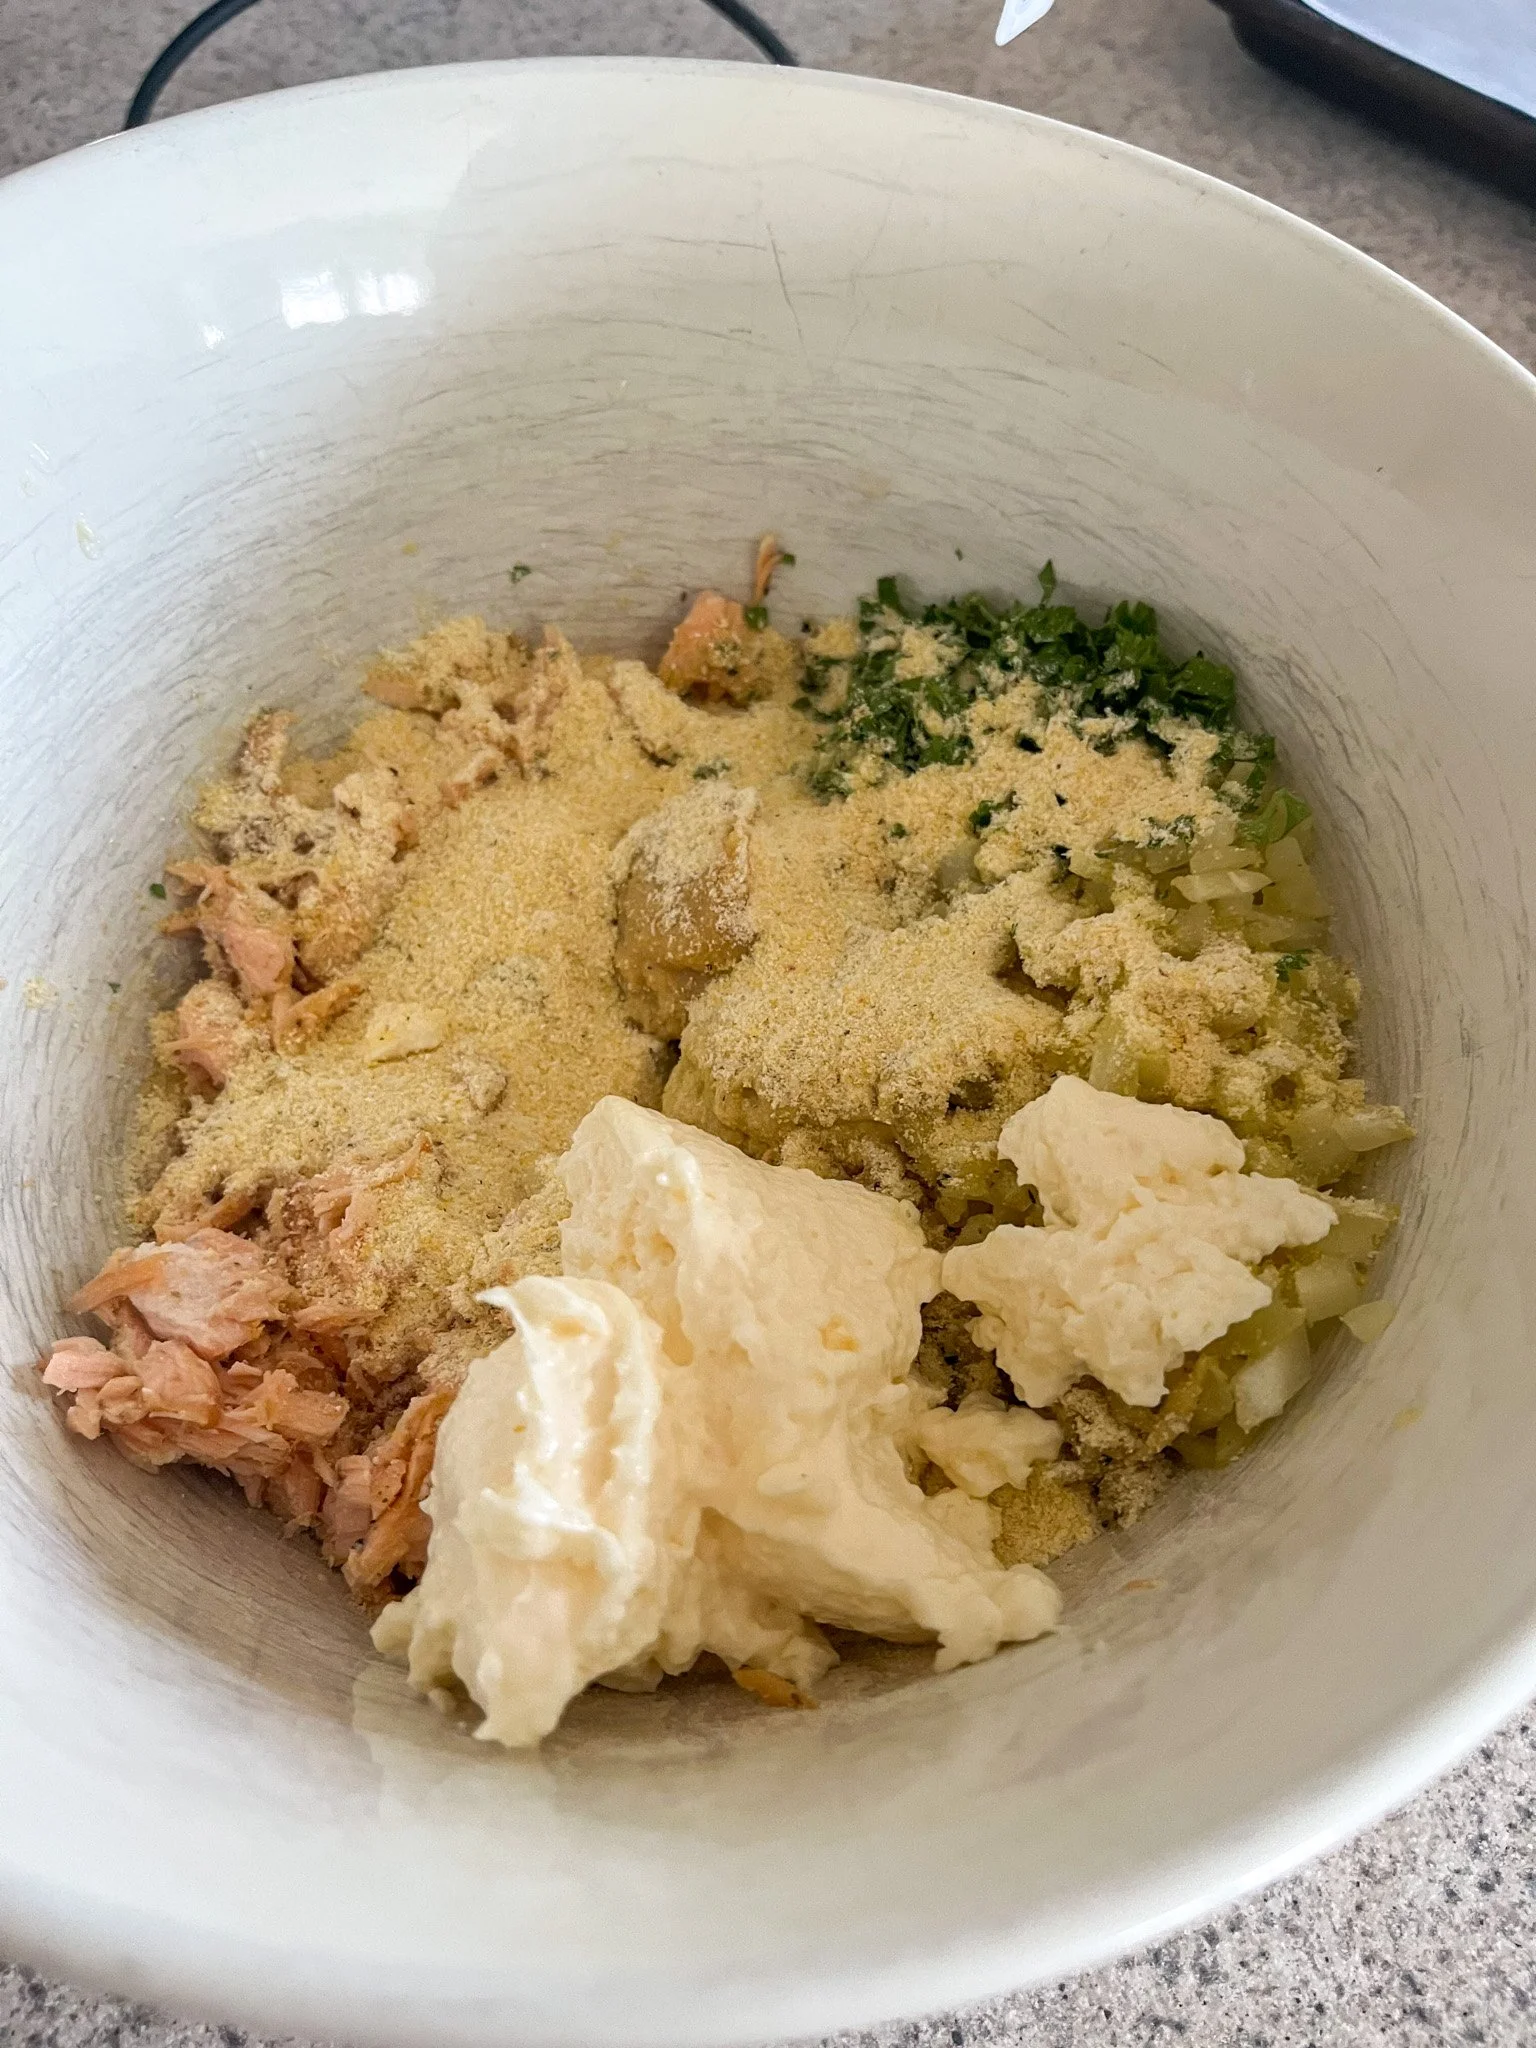
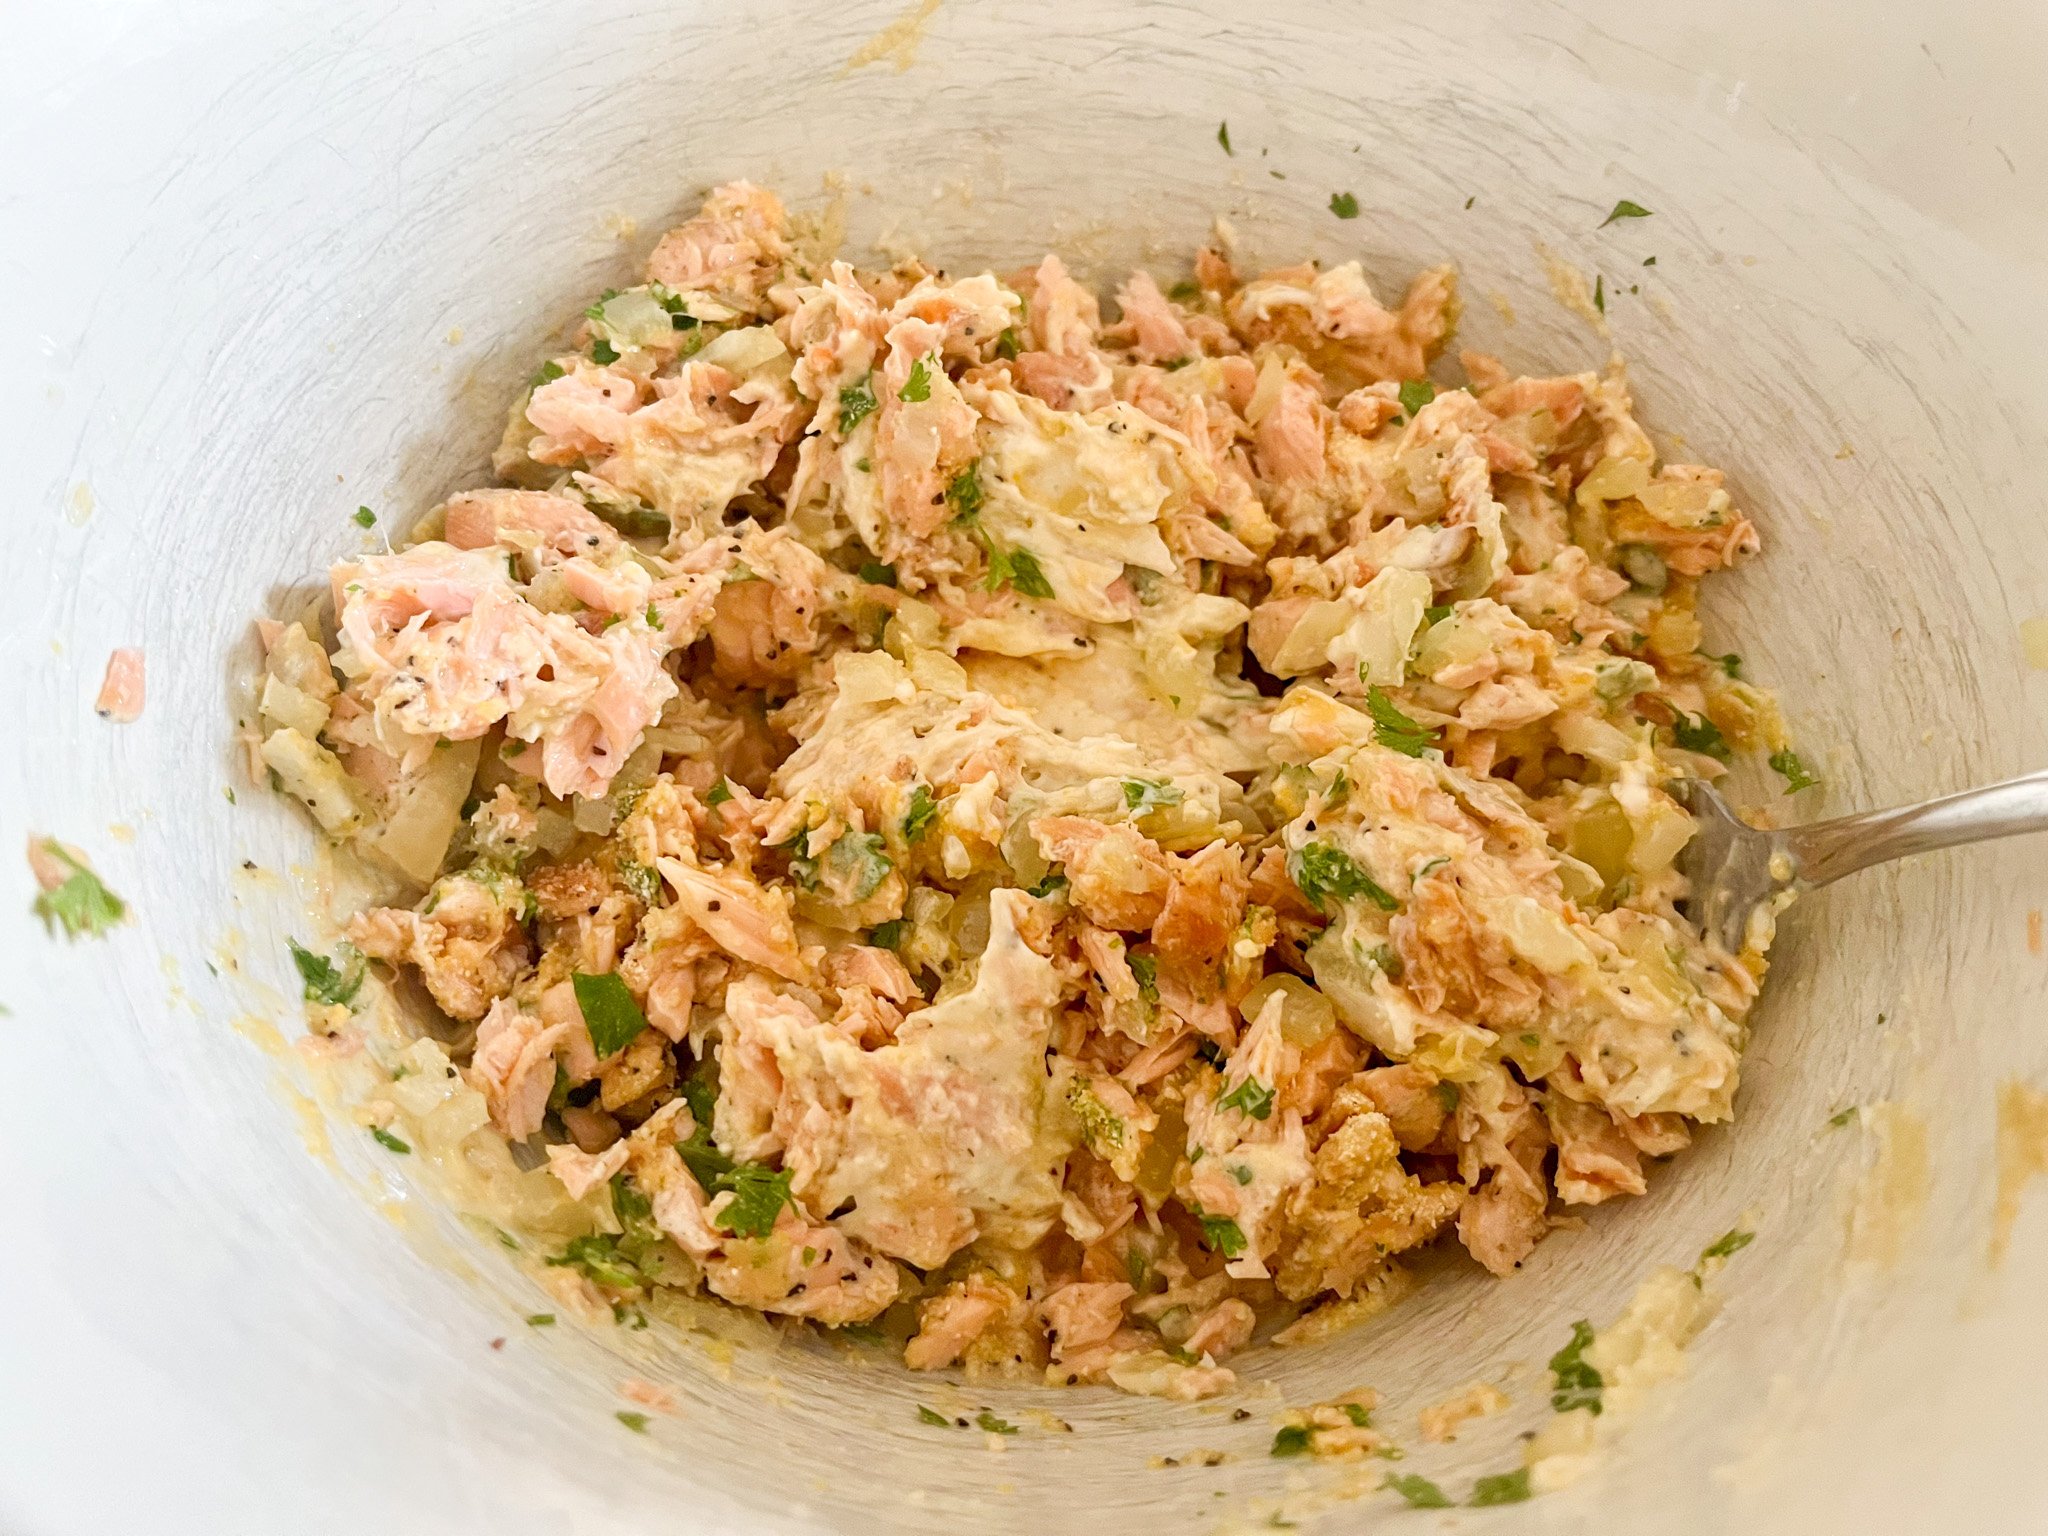
In a large bowl, combine flaked salmon, cooled onion and peppers, parsley, breadcrumbs, mayo, mustard, egg, lime juice & zest, paprika, salt, and pepper. Mix gently but thoroughly — you want a cohesive mixture that holds together when pressed.
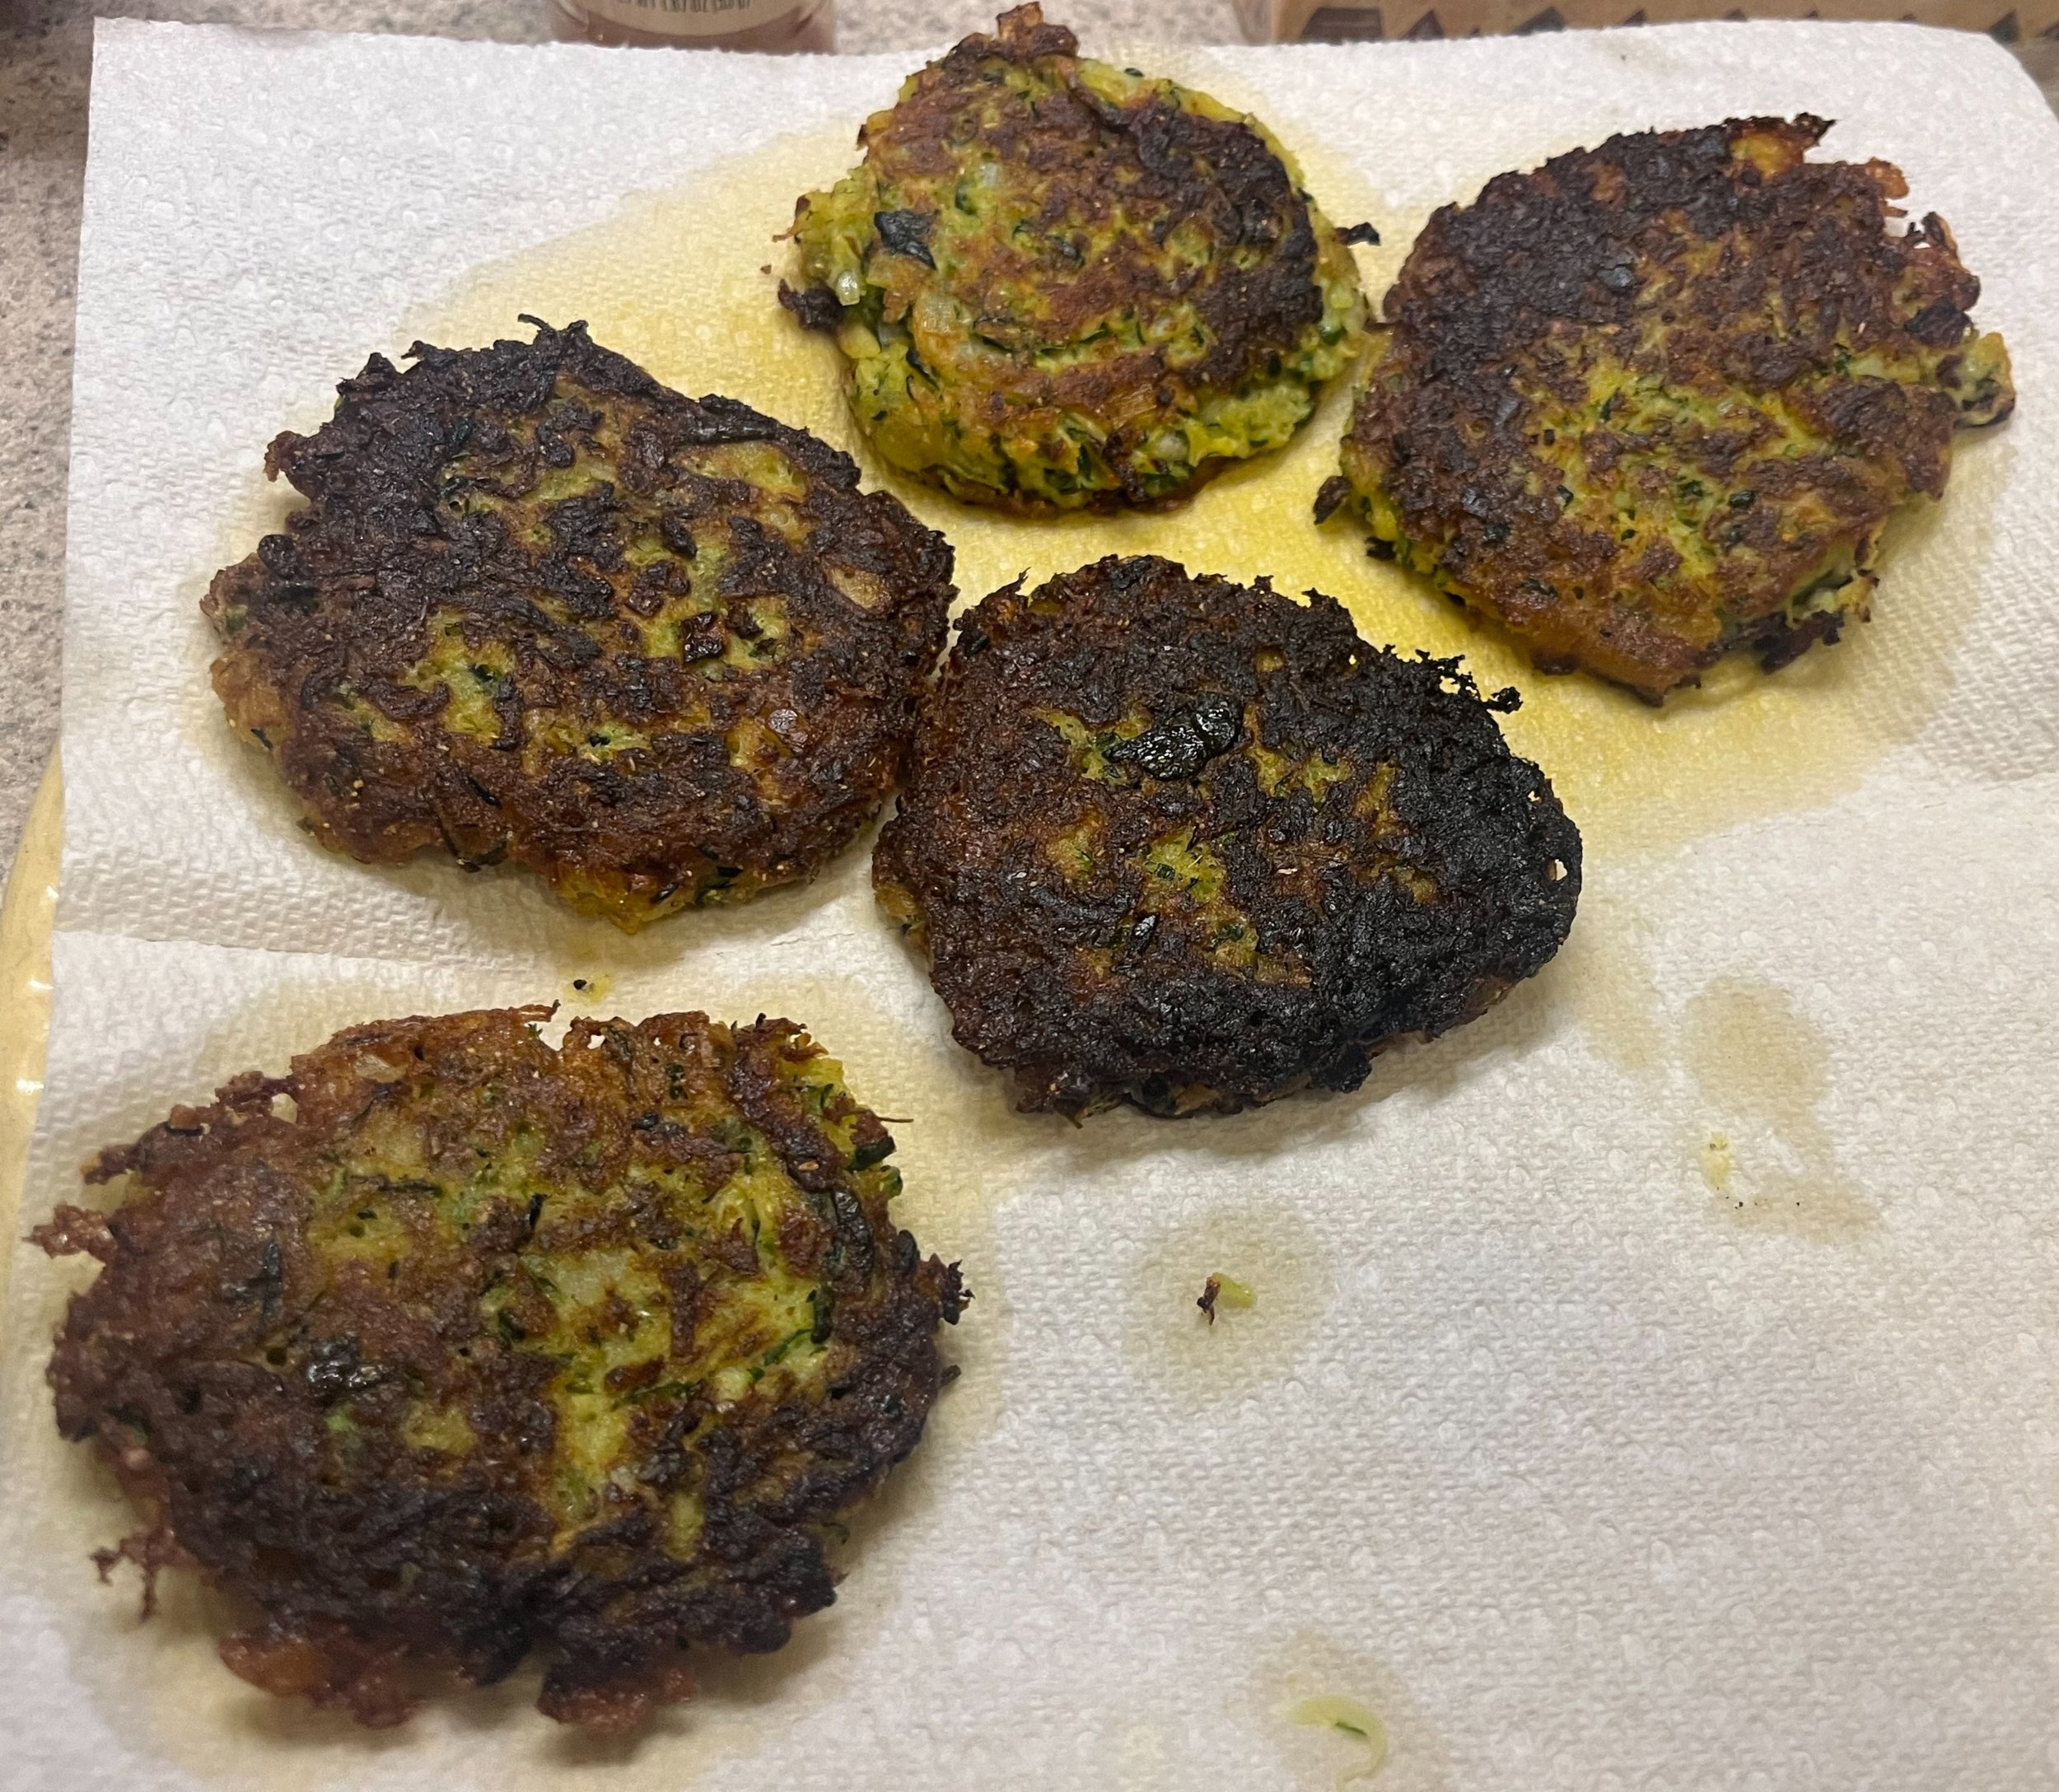
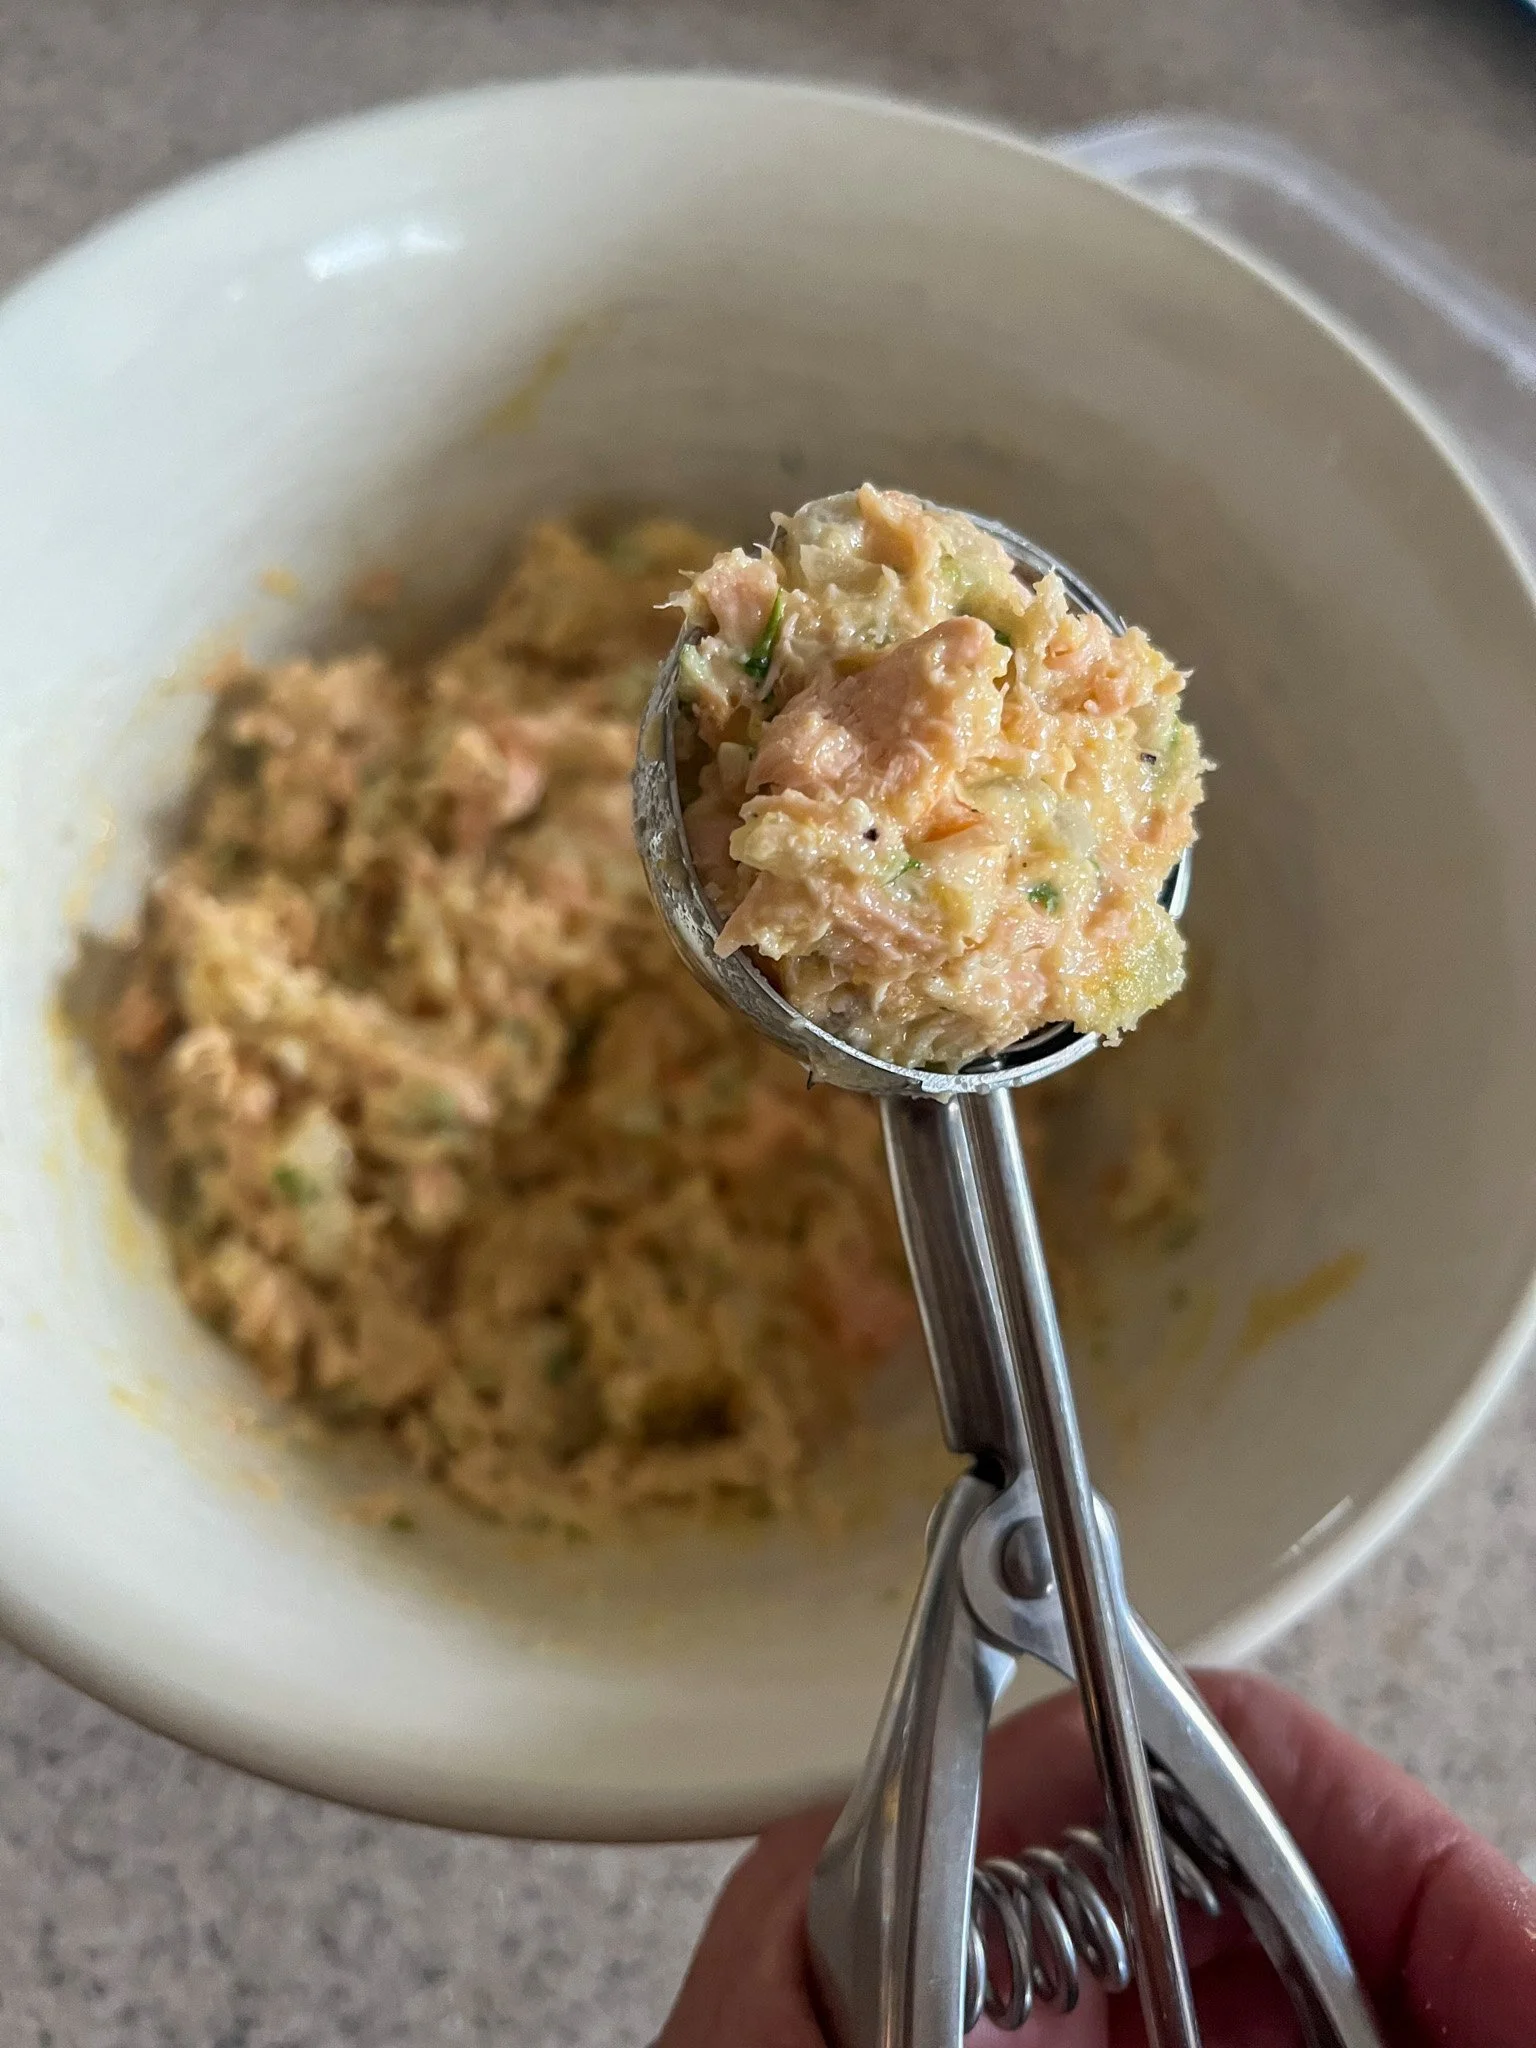
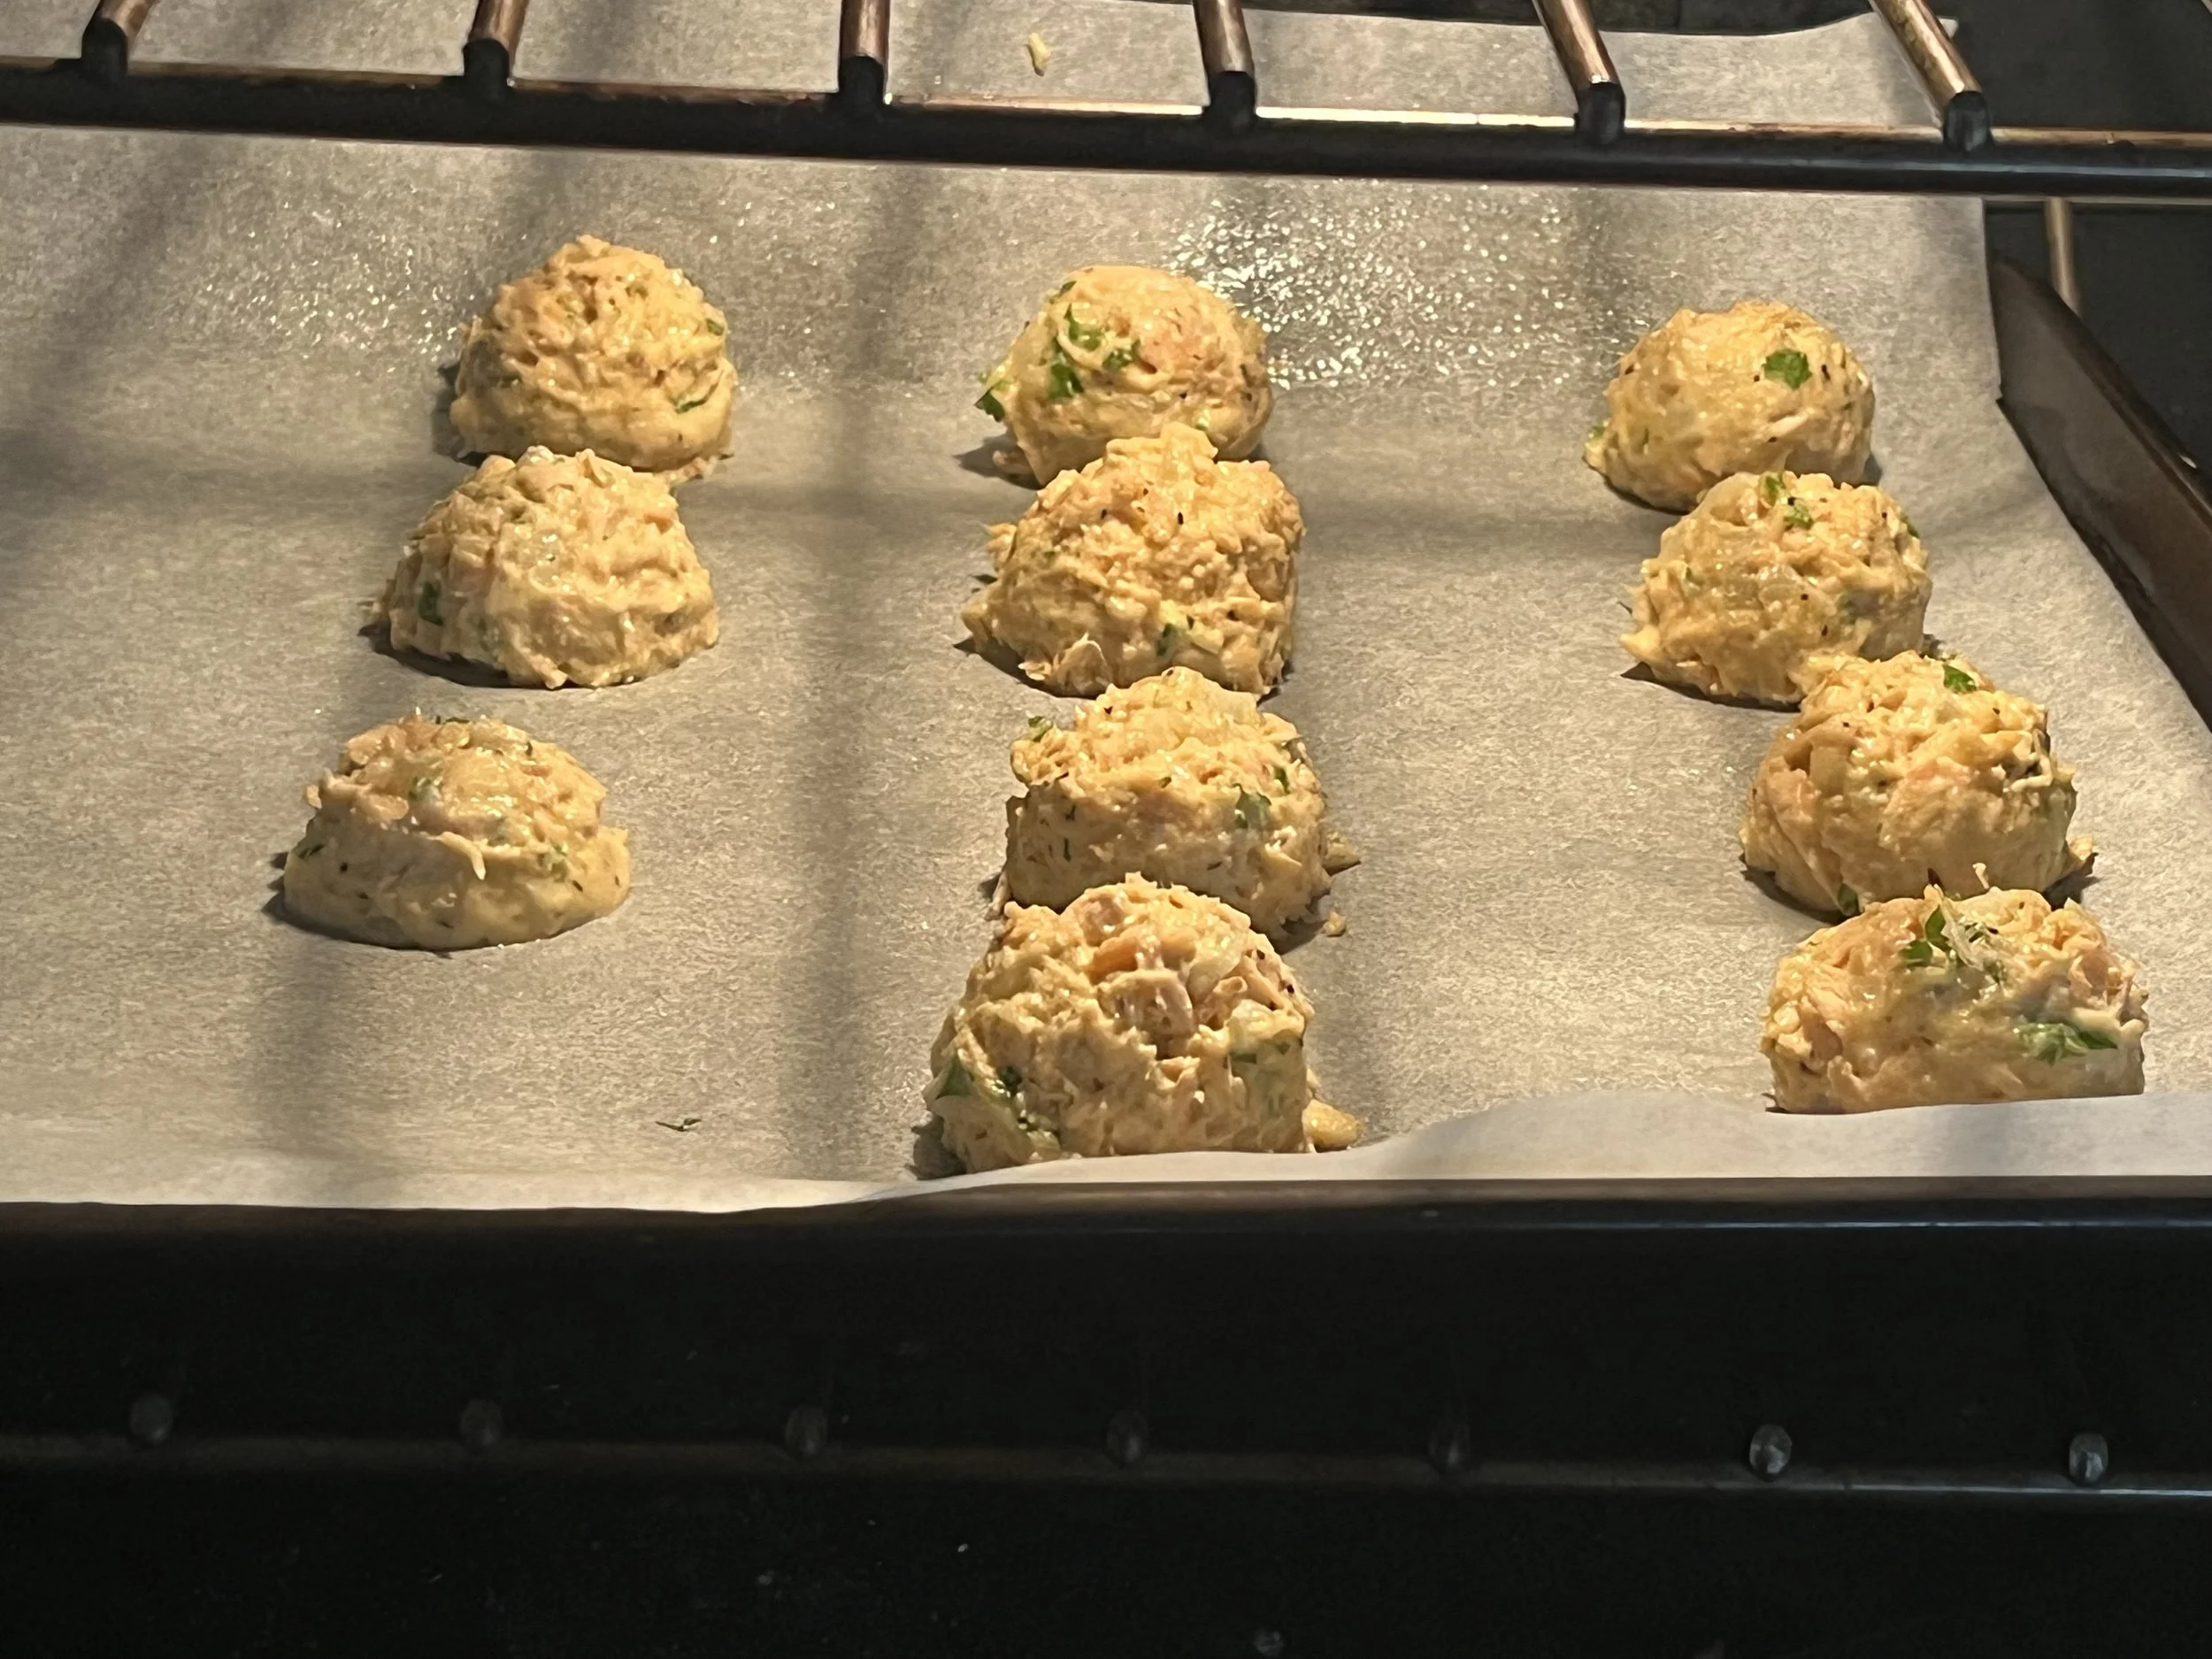
Form into small balls (or mini-cakes), about 1 inch wide. (If mixture feels too loose, chill for 15–20 min or add a bit more binder (bread crumbs/almond flour). We used a small cookie dough scooper to keep the cake size uniform and then rolled them into balls. Bake on a parchment-lined sheet for 15–20 min until golden and firm.
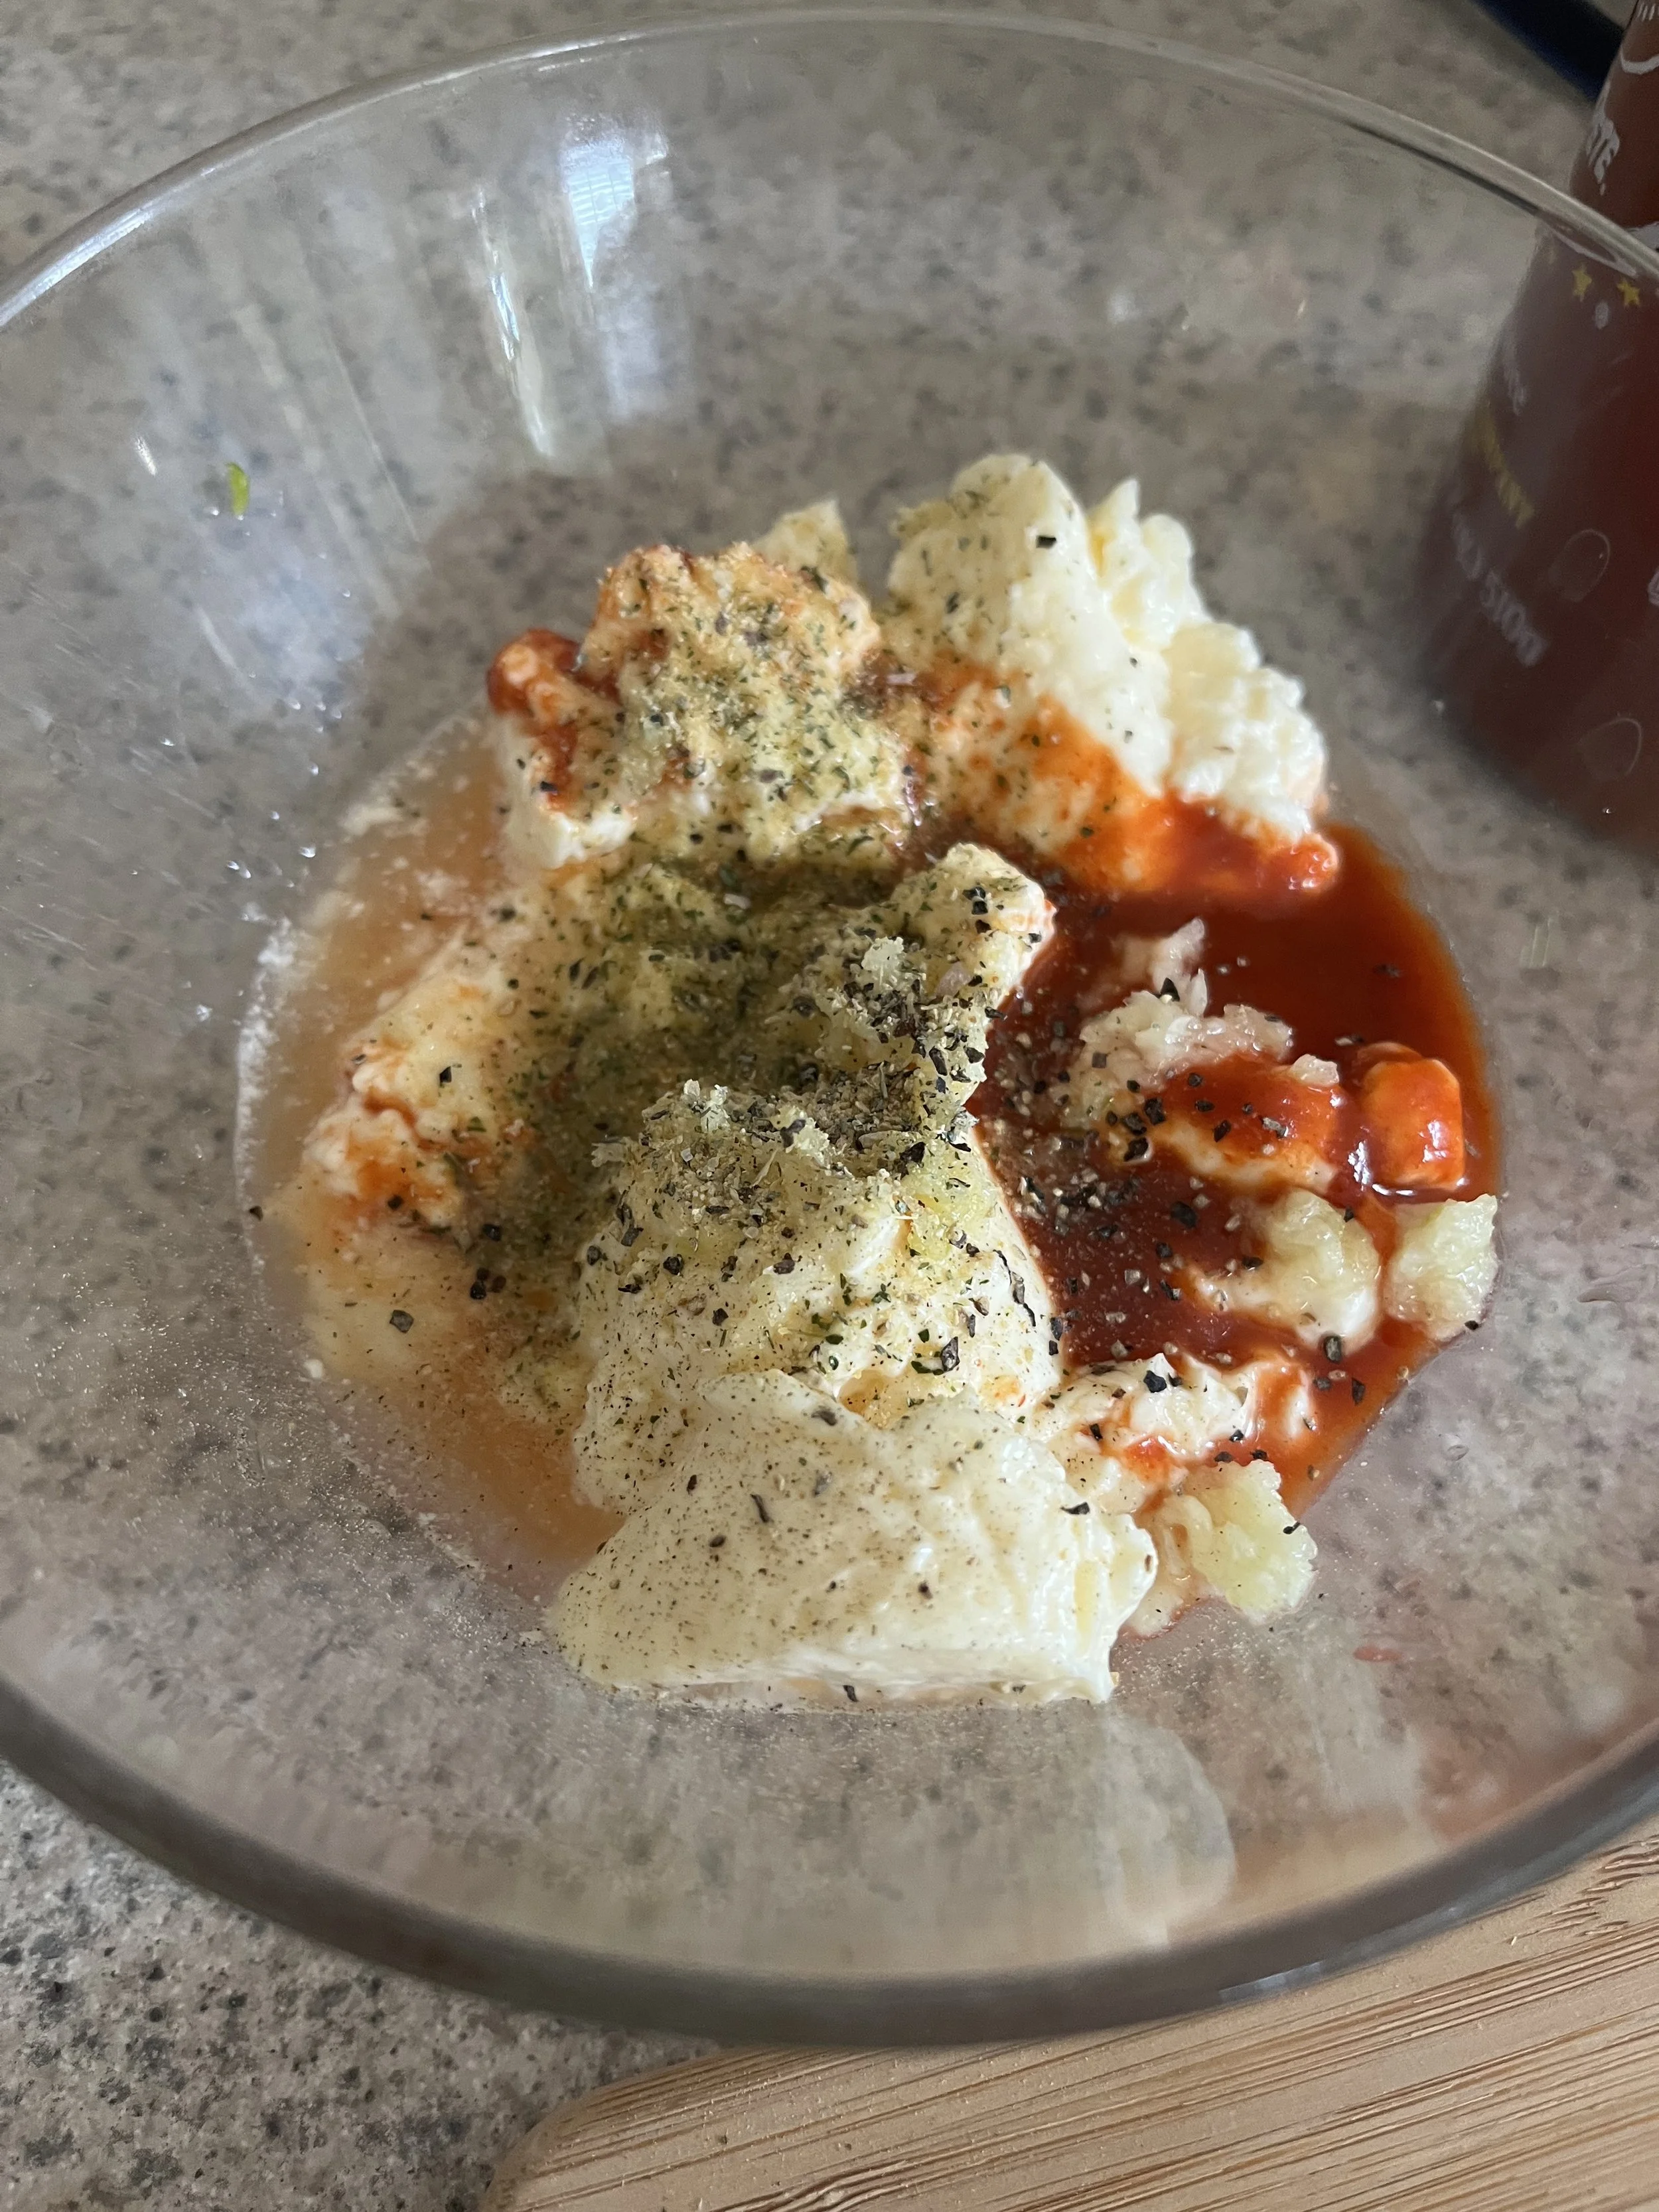
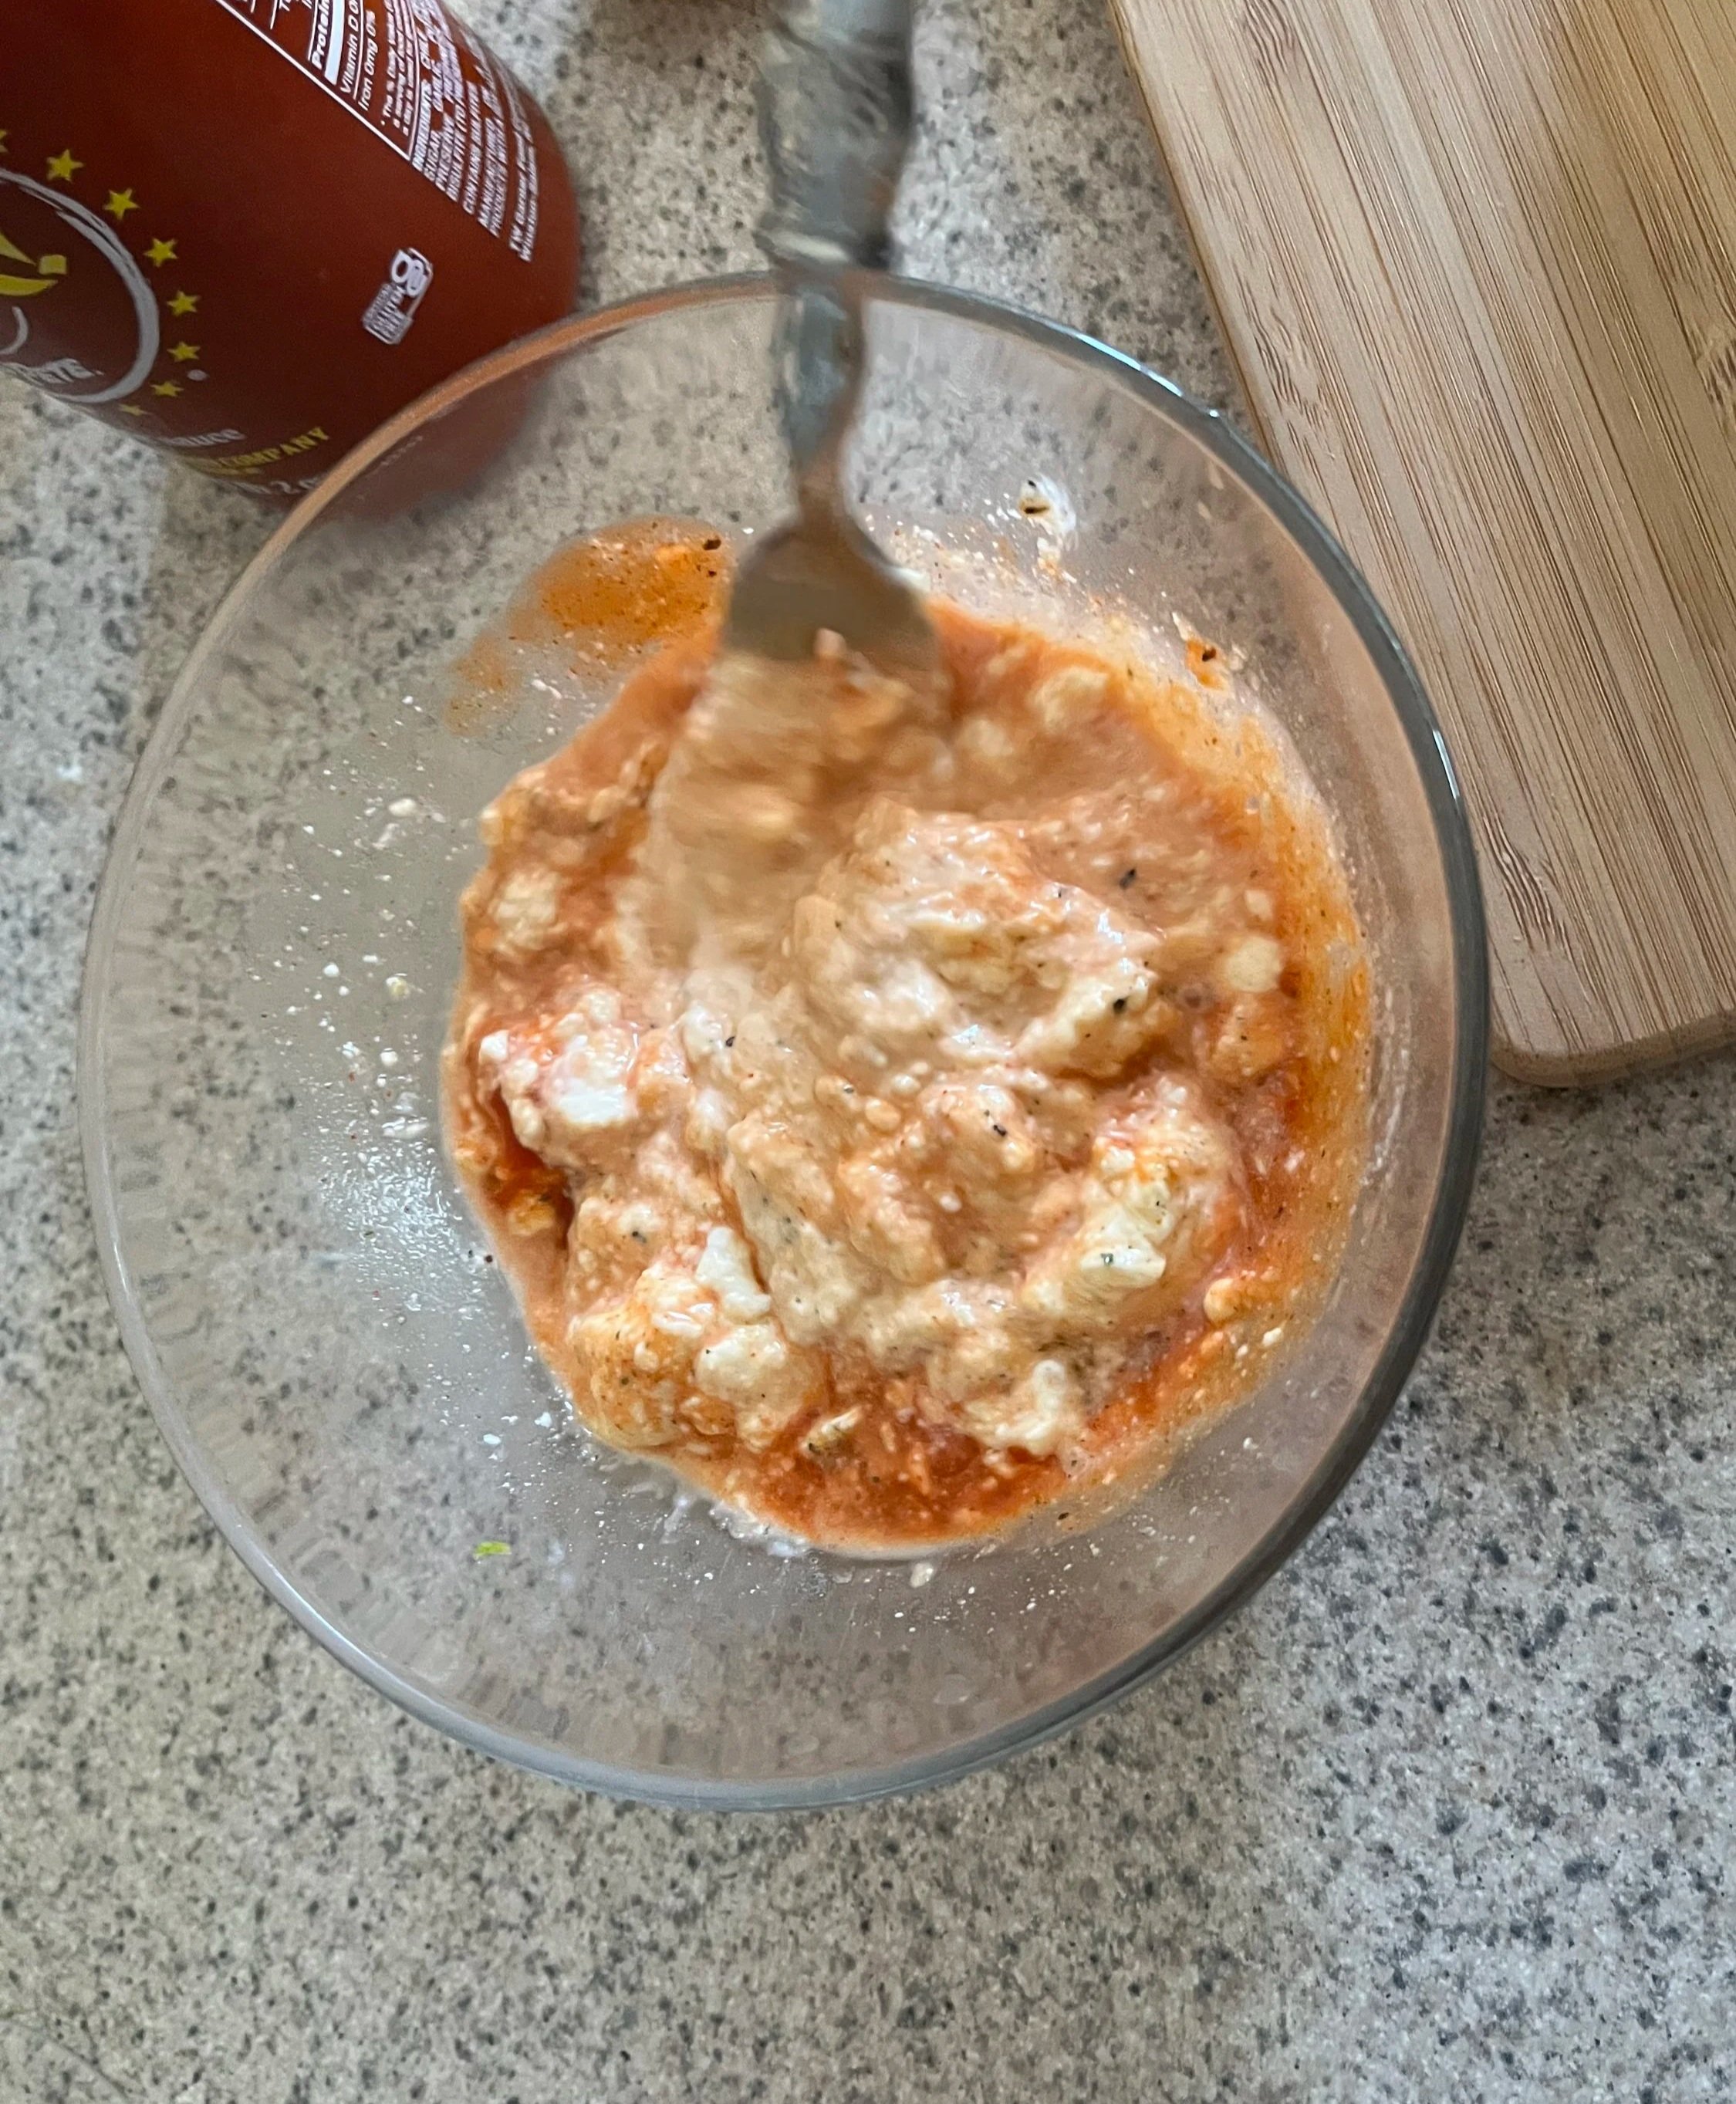
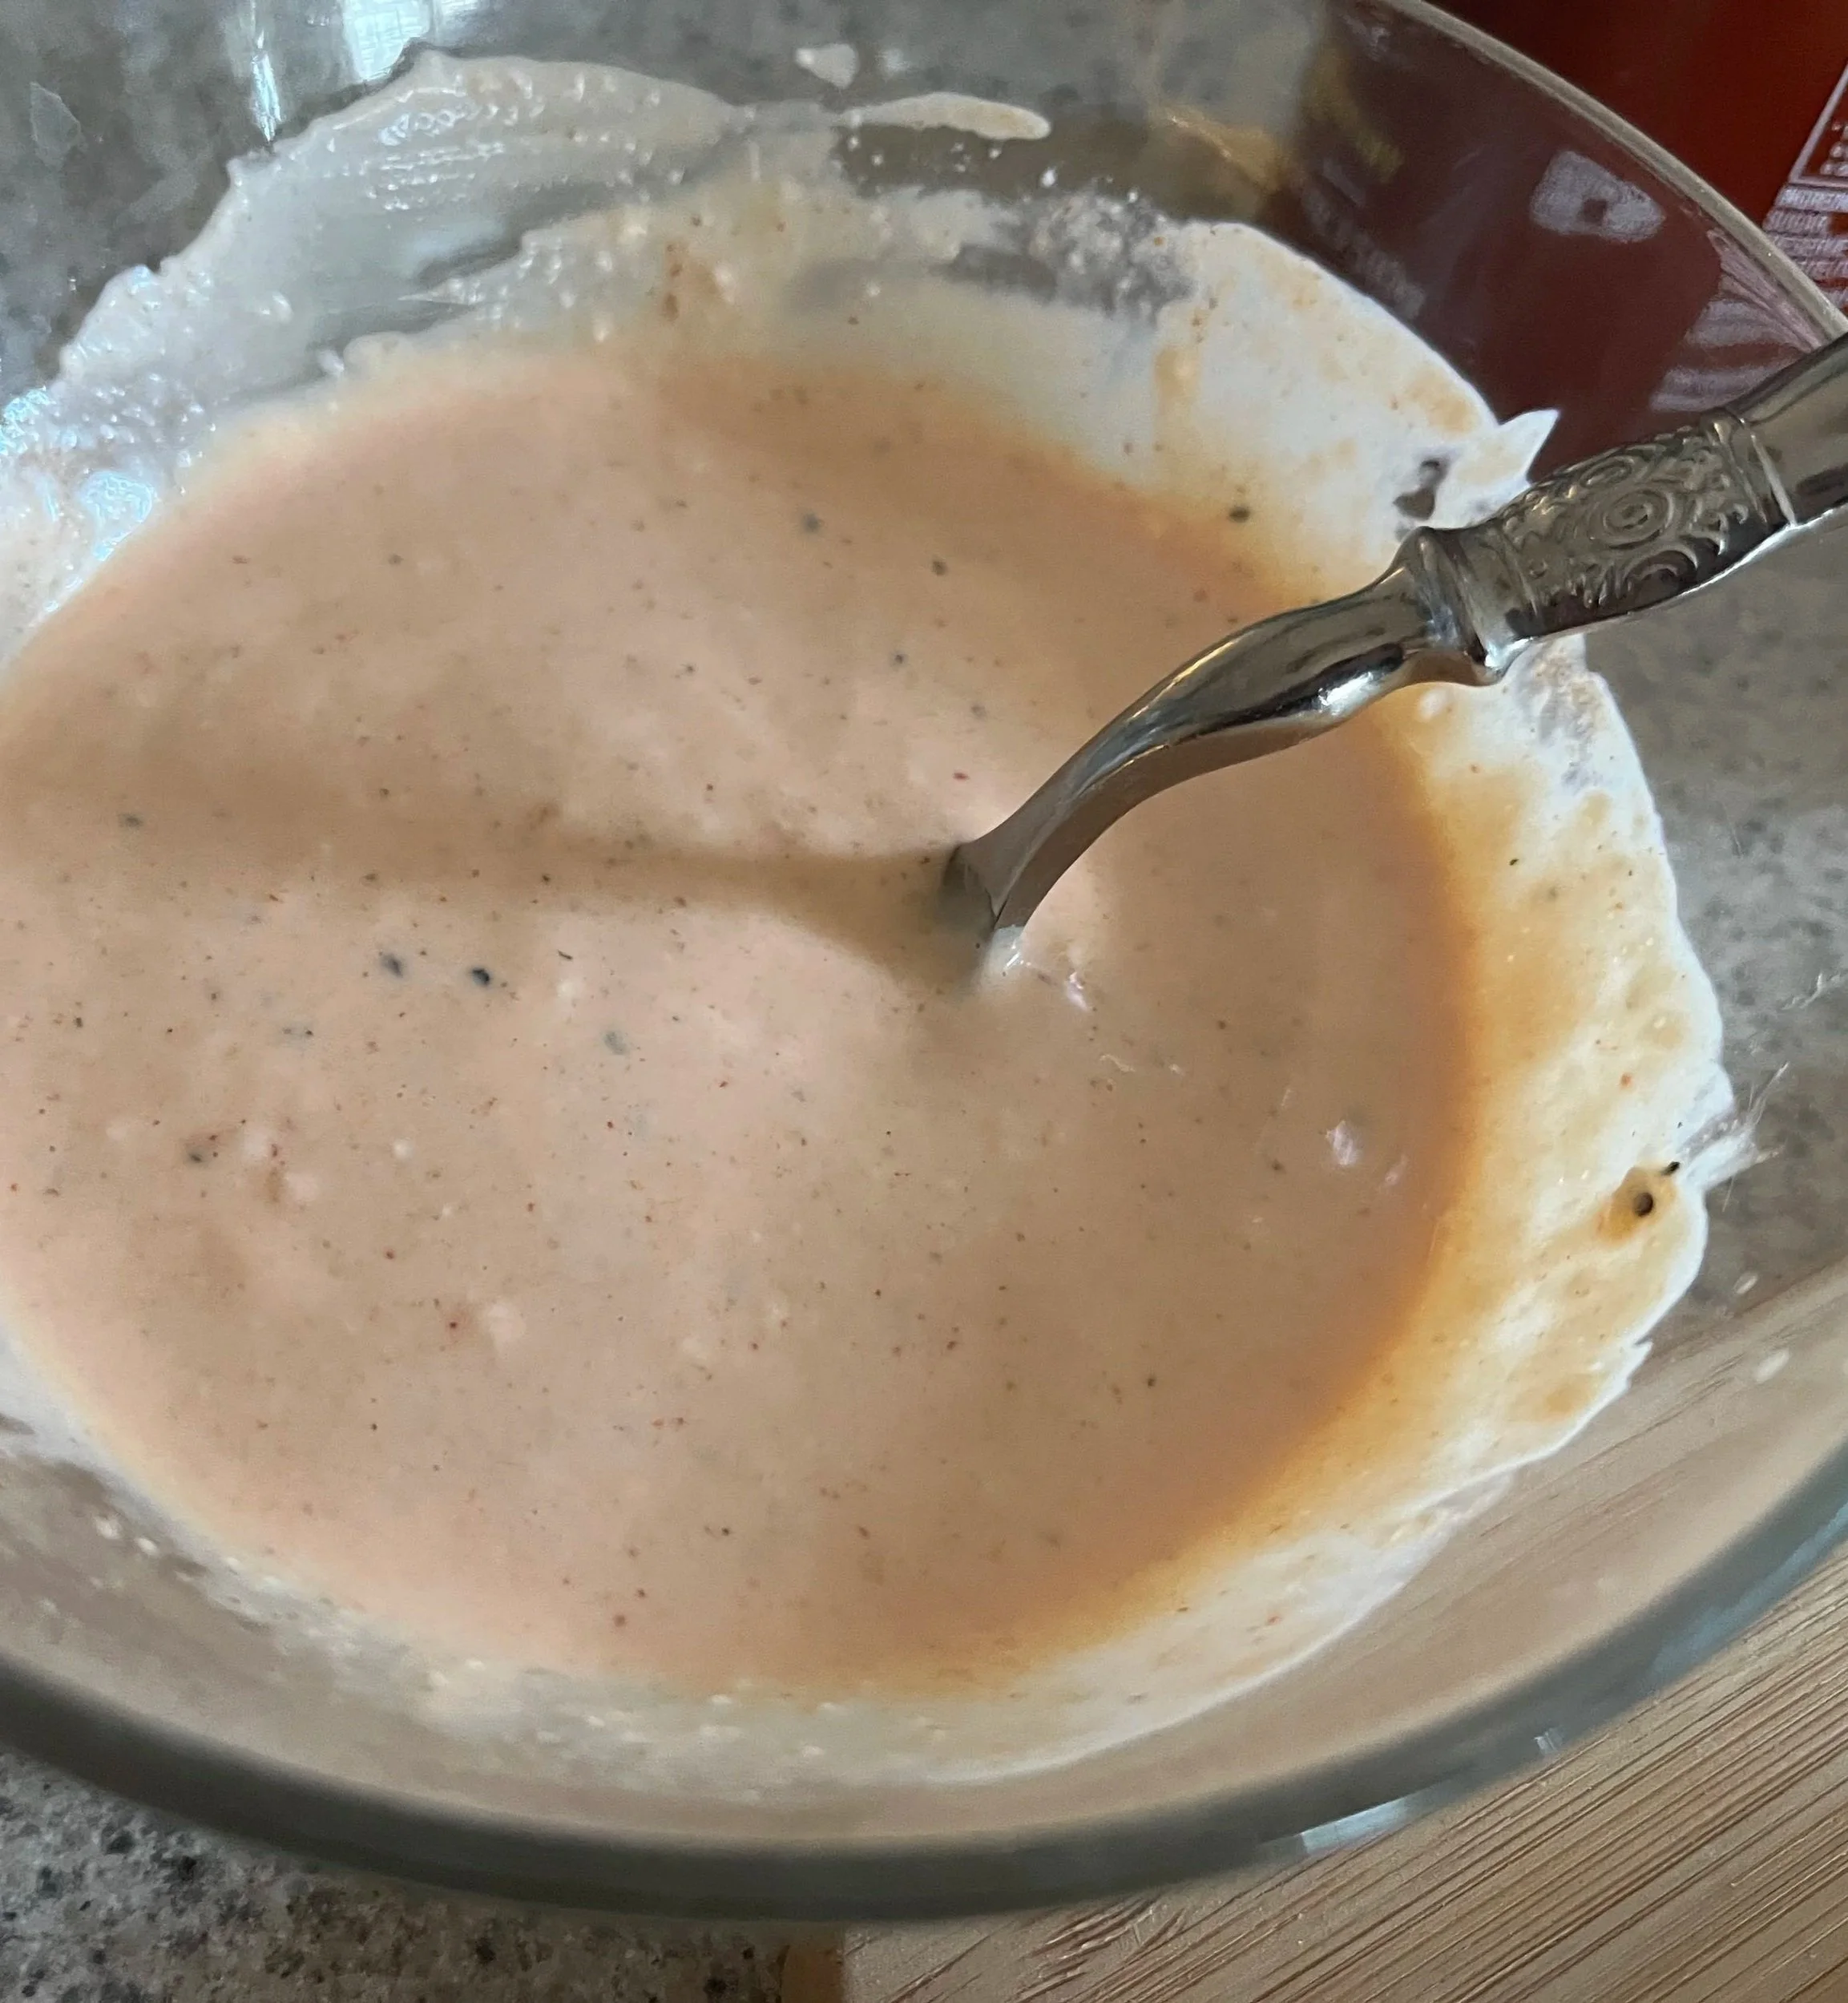
Meanwhile, whisk together the dip ingredients (mayo, lime juice, garlic, Cherchies® Chardonnay Lime & Cilantro Seasoning, pepper).
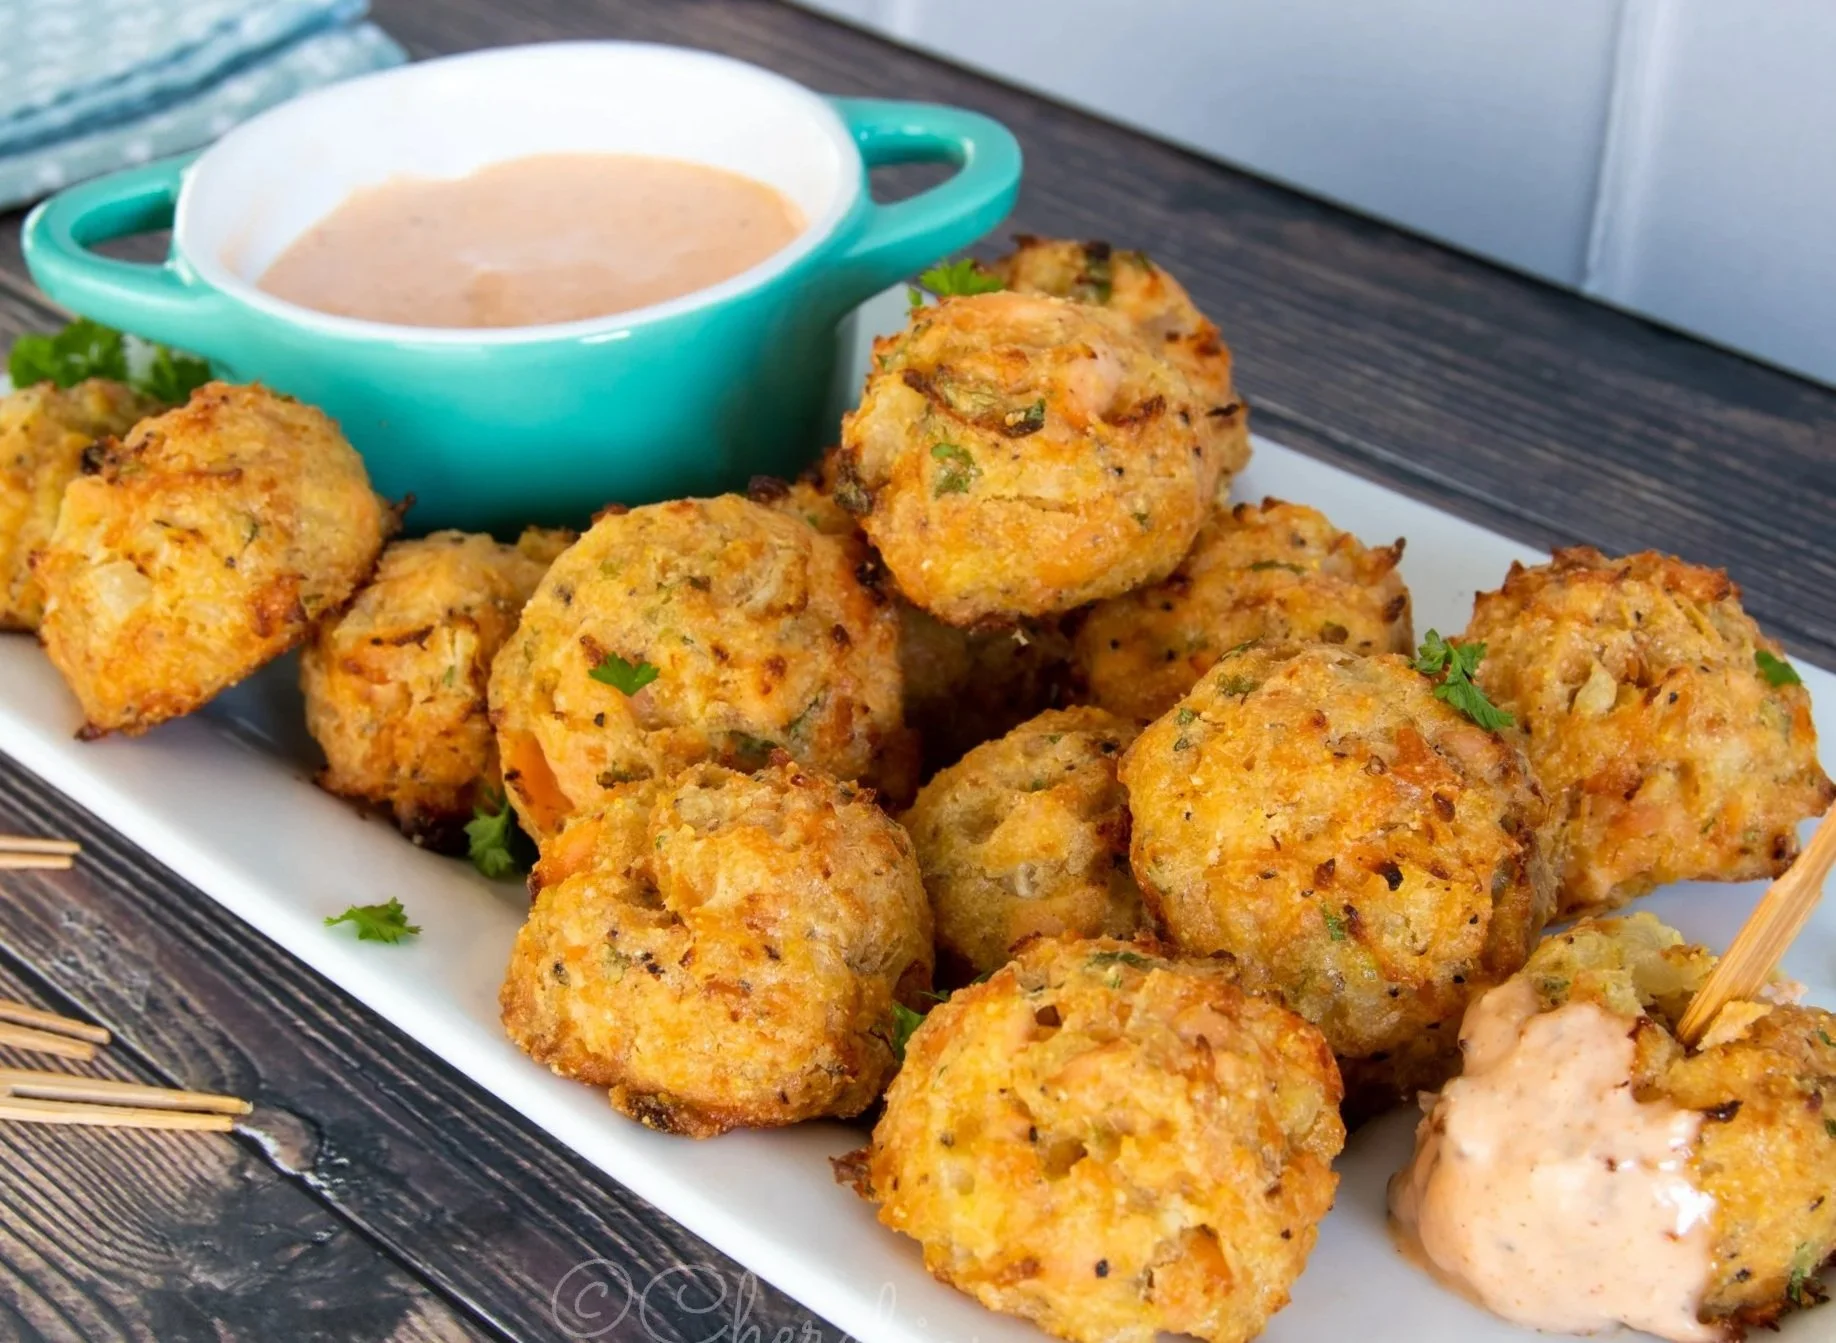
Serve the salmon cakes warm with the spicy lime aioli on the side, and lime (or lemon) wedges for extra brightness.
Enjoy!
Why You’ll Love These Mini Salmon Cakes
These mini salmon cakes are:
easy to make ahead
freezer-friendly
perfect for appetizers or light meals
easy to make gluten-free or lower-carb
delicious baked or air-fried
The combination of Cherchies® Champagne Mustard in the salmon cakes and Cherchies® Chardonnay Lime & Cilantro Seasoning in the aioli adds just the right balance of tangy, fresh flavor without overpowering the salmon.
Serving Ideas
Serve these Mini Salmon Cakes warm with the Lime Aioli on the side for dipping, or pair them with a simple salad, rice, or roasted vegetables for an easy meal. They also make a great addition to a brunch spread, lunch board, quinoa bowl, or party table.
*A Few Helpful Notes
Fresh salmon works beautifully in this recipe, but canned salmon is a great shortcut if you need one. If using canned salmon, simply drain it well and skip the first baking step.
For a gluten-free or lower-carb option, swap the breadcrumbs for almond meal. And if you like to plan ahead, these mini salmon cakes freeze well, making them a convenient option for busy days or last-minute entertaining.
For a dairy-free option, substitute the Greek Yogurt for dairy-free yogurt.
Substitute lemon juice for the lime juice if you prefer. We often substitute lemons for limes, depending on what we have on hand.
If using an air fryer, cook the cakes at 400 for 8-10 minutes or until golden brown.
Adapted From Taste and See